
- Our products
-
Features
FeaturesExtensions
- Pricing
- What’s new
- Marketplace
-
More
CompanyFor Business
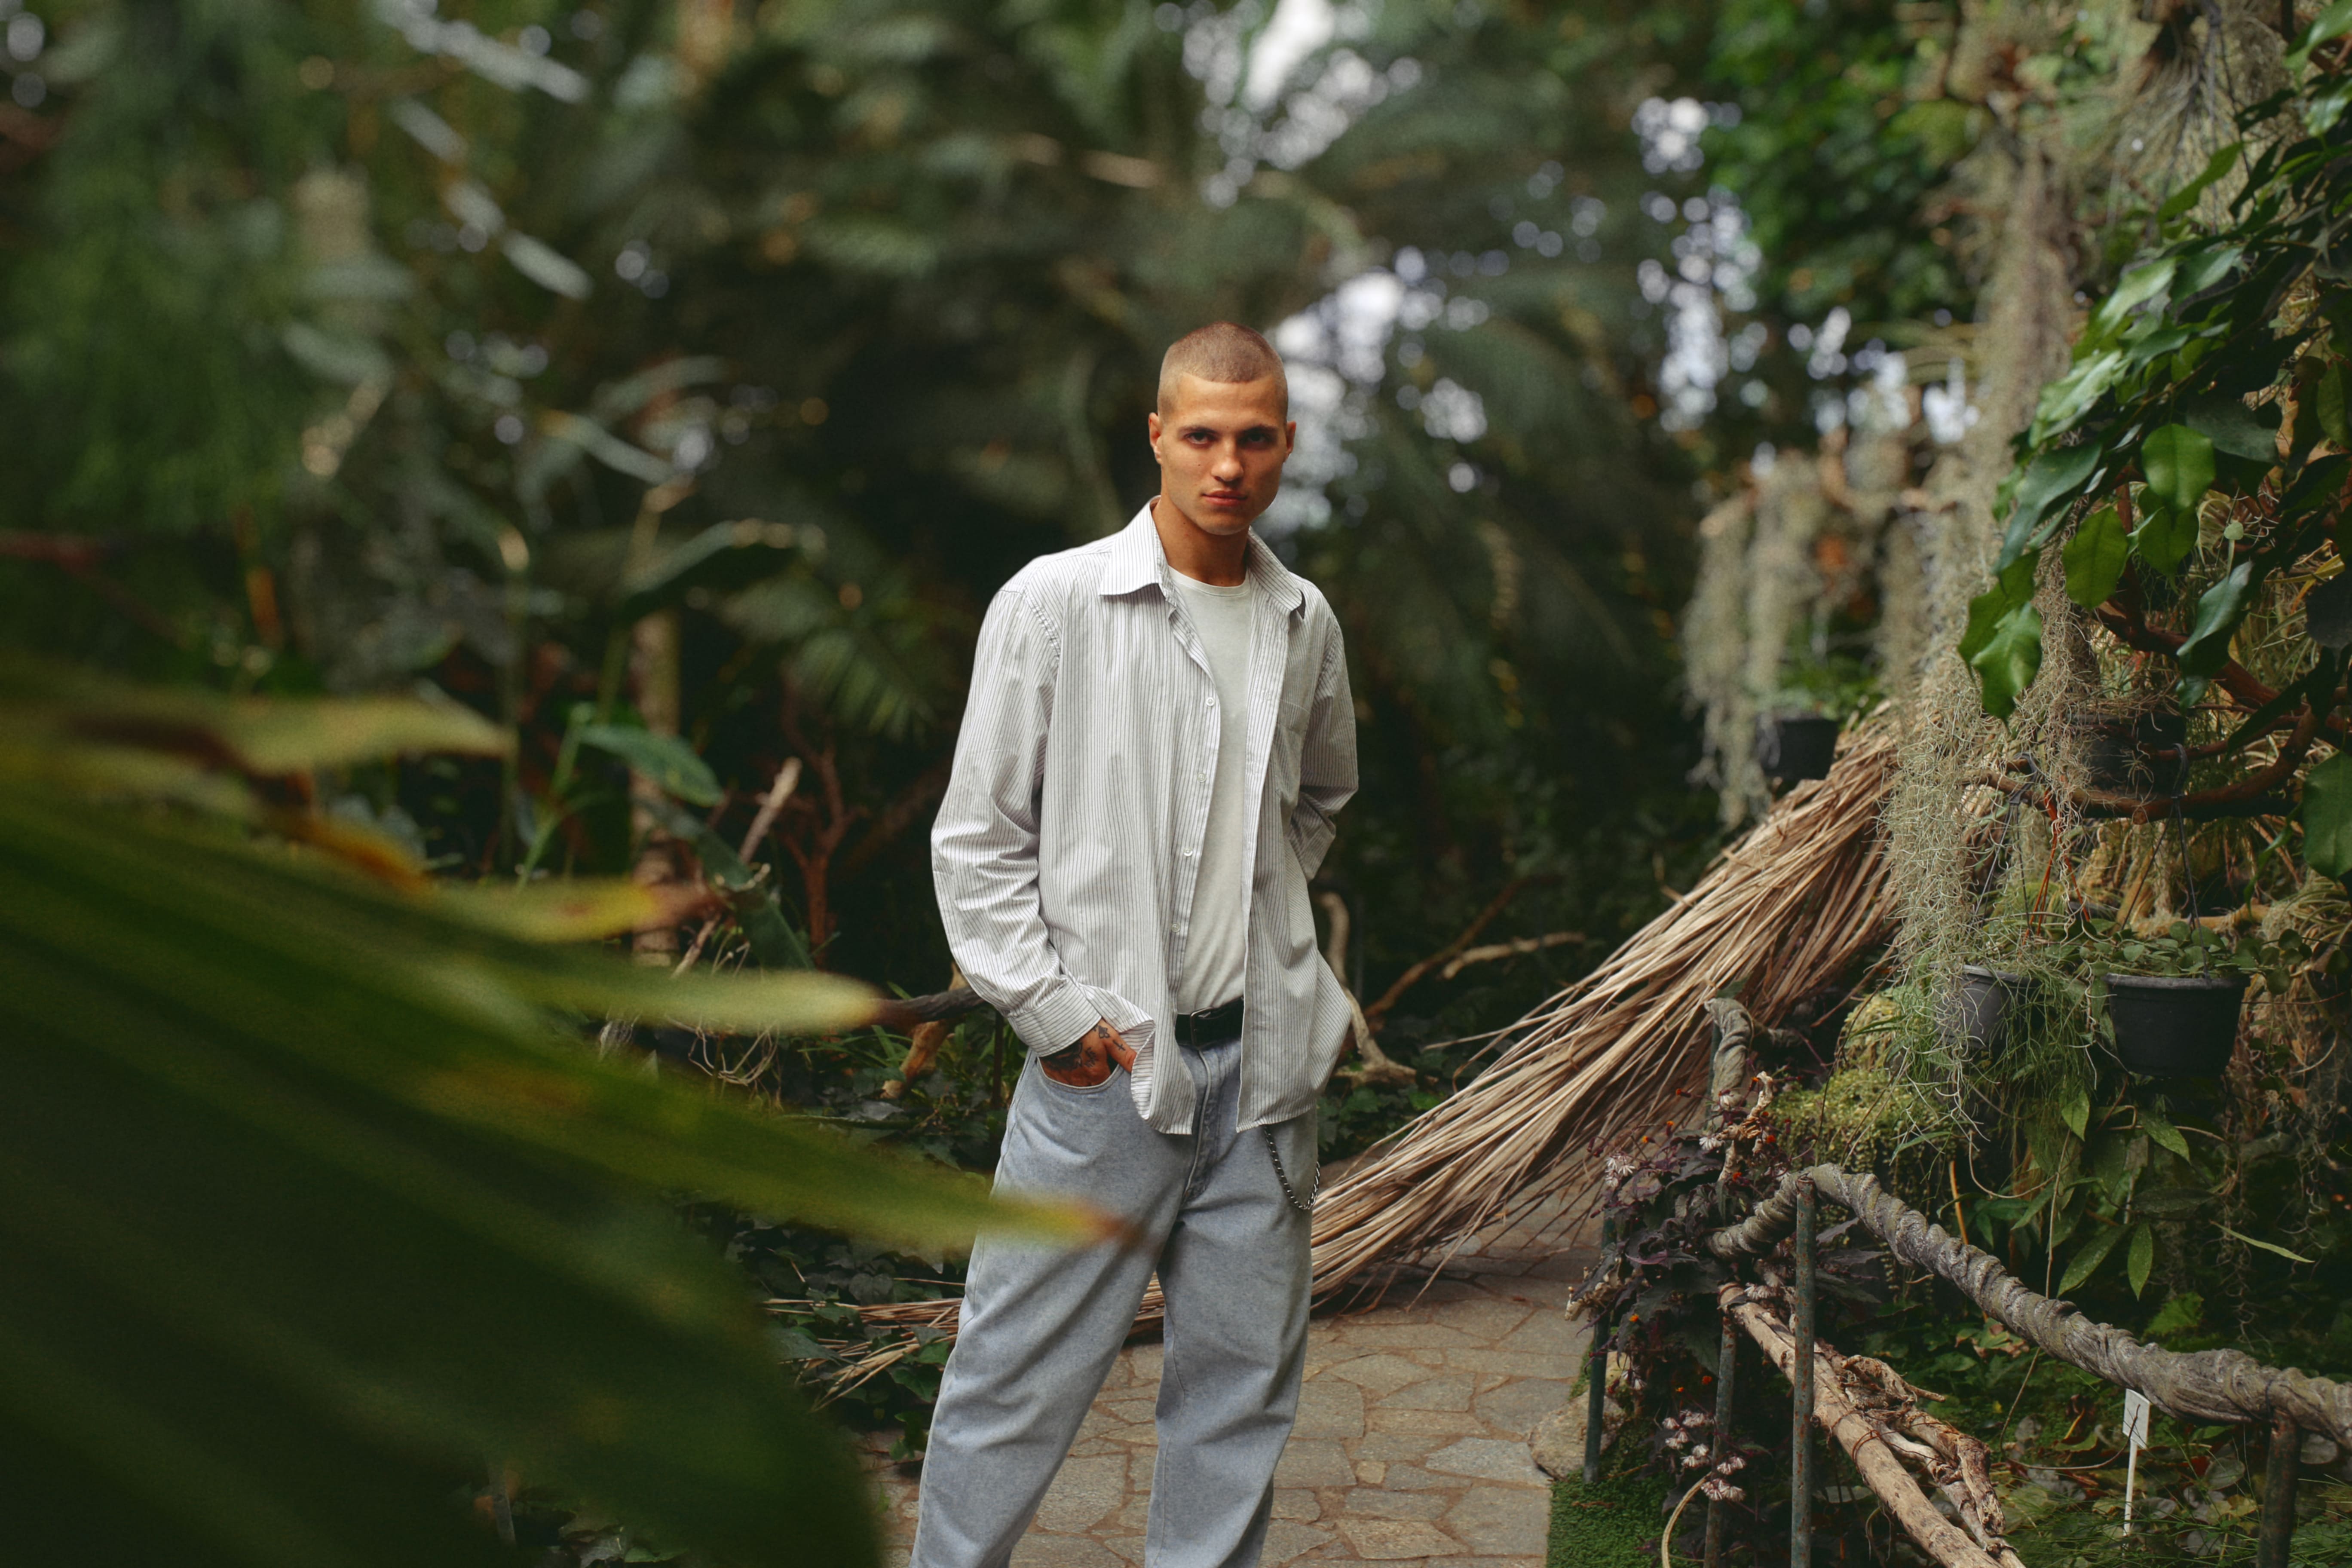
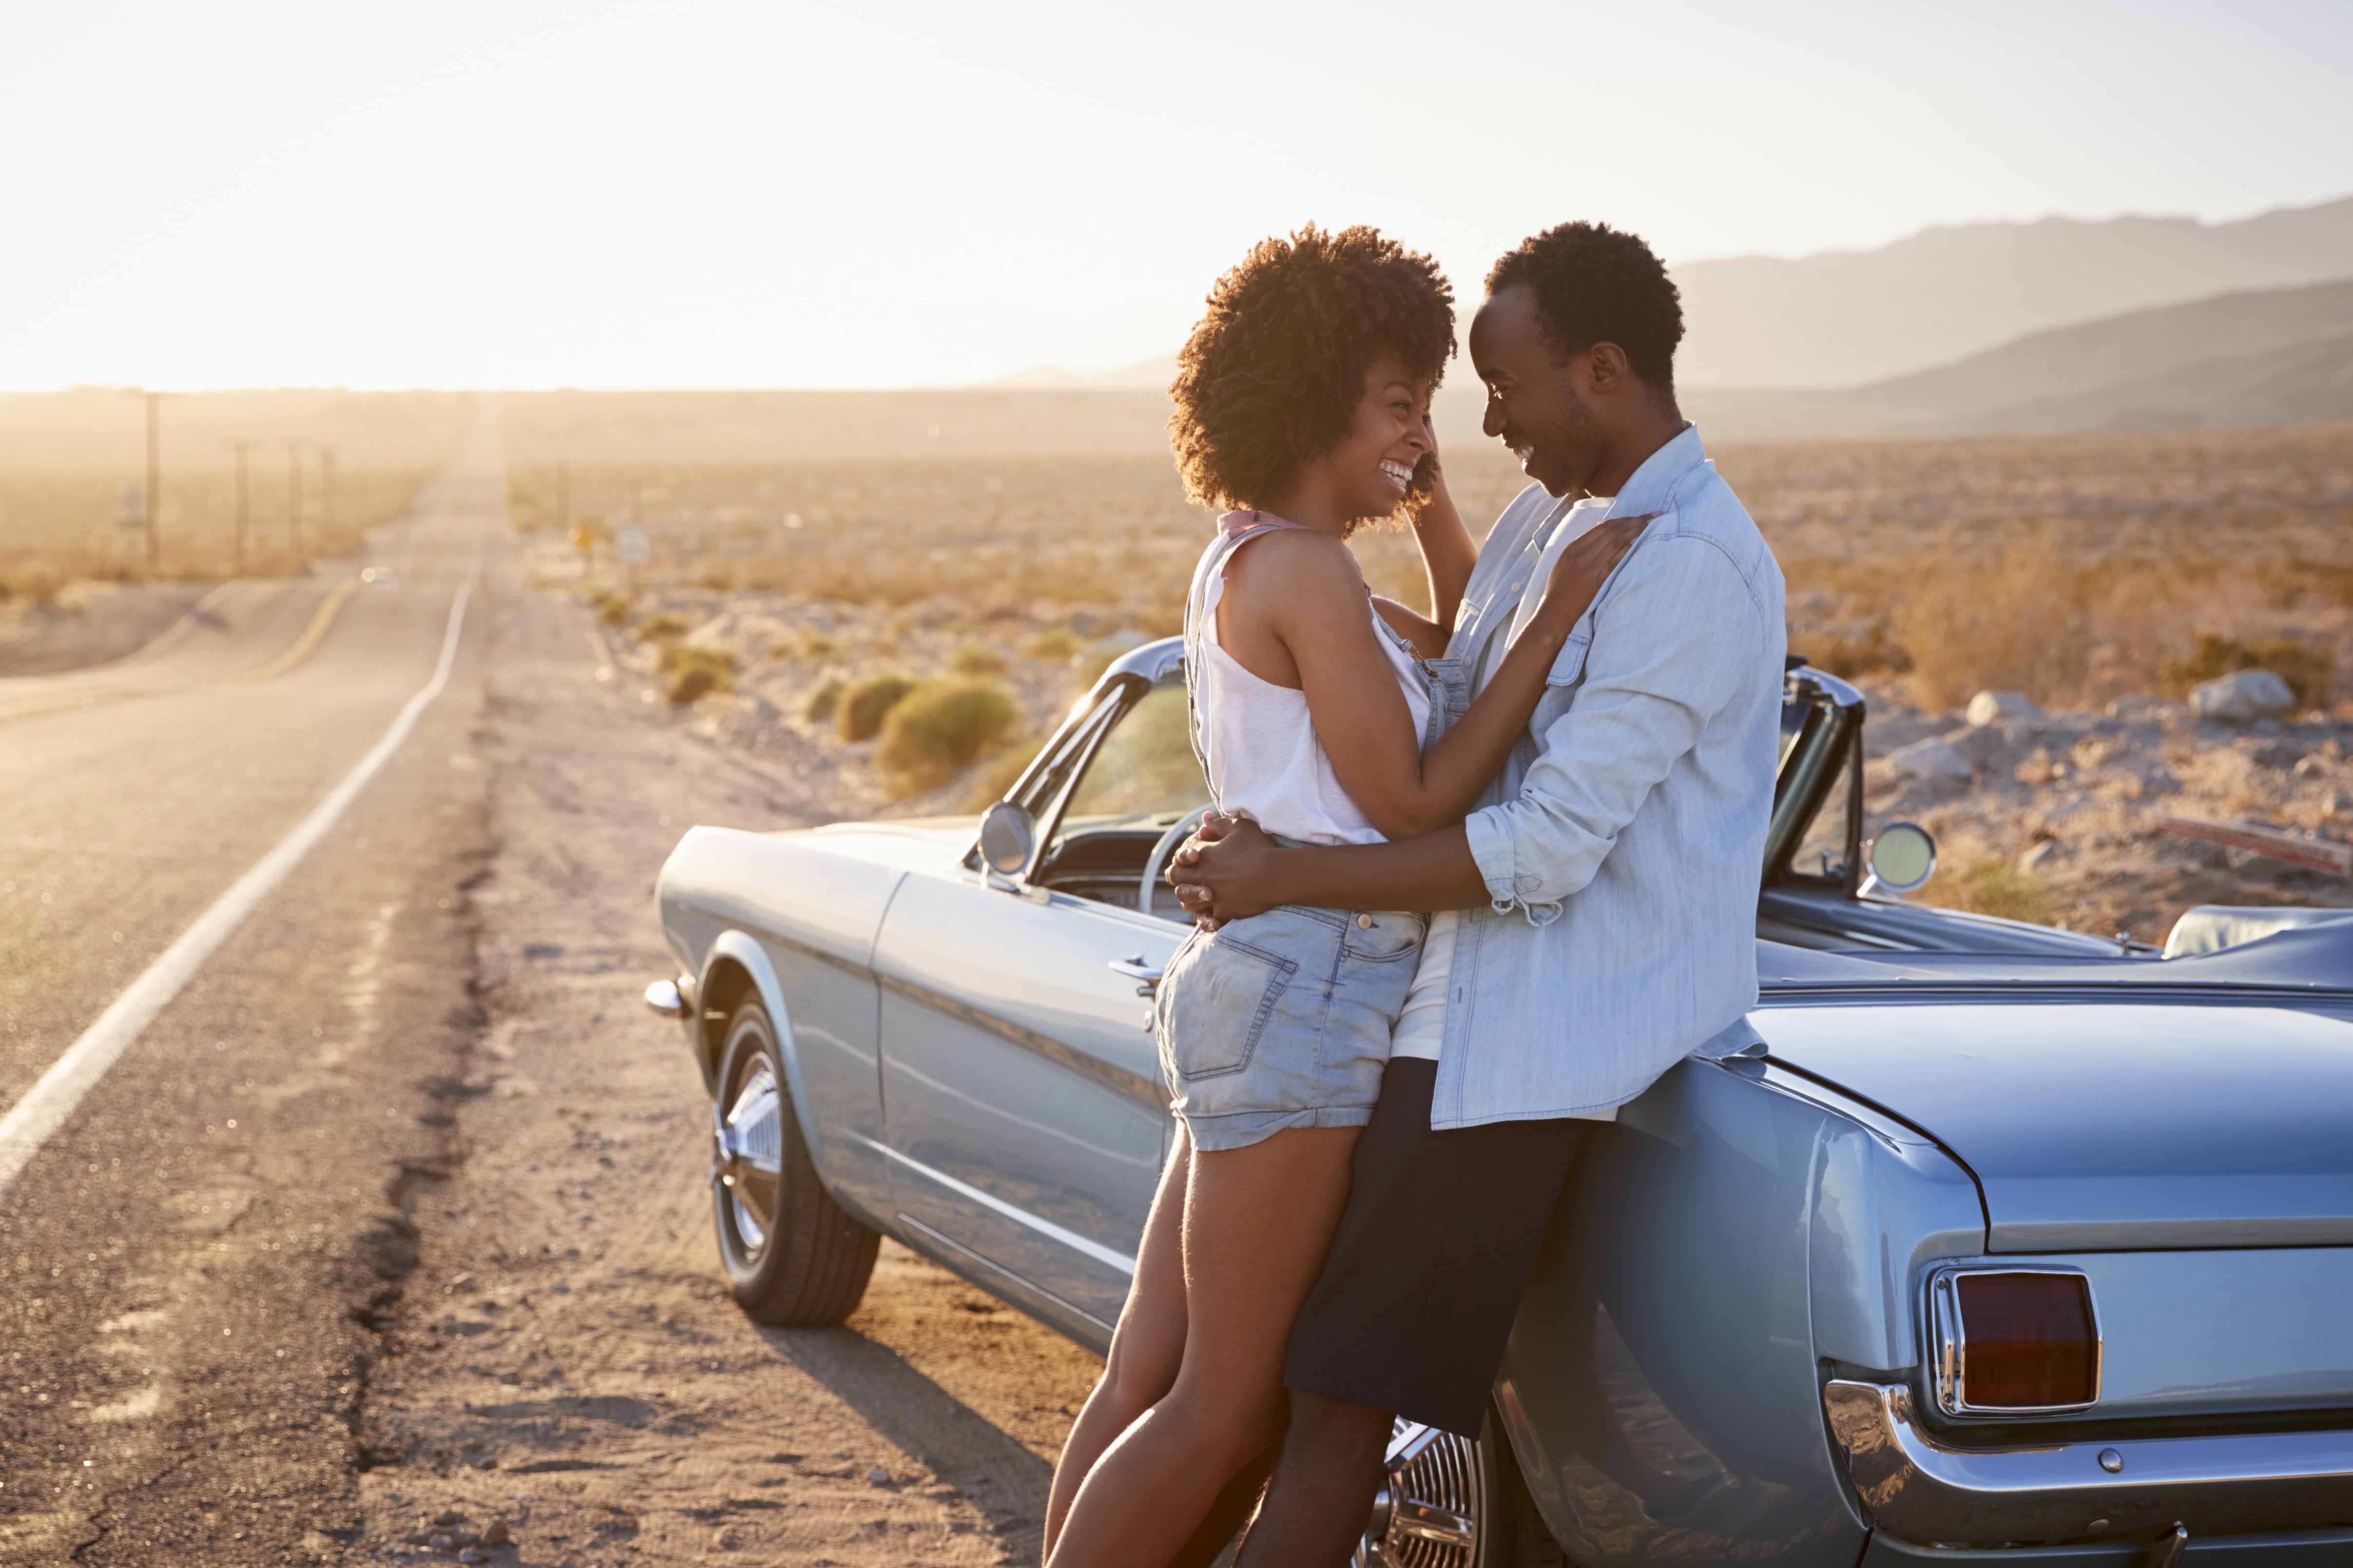
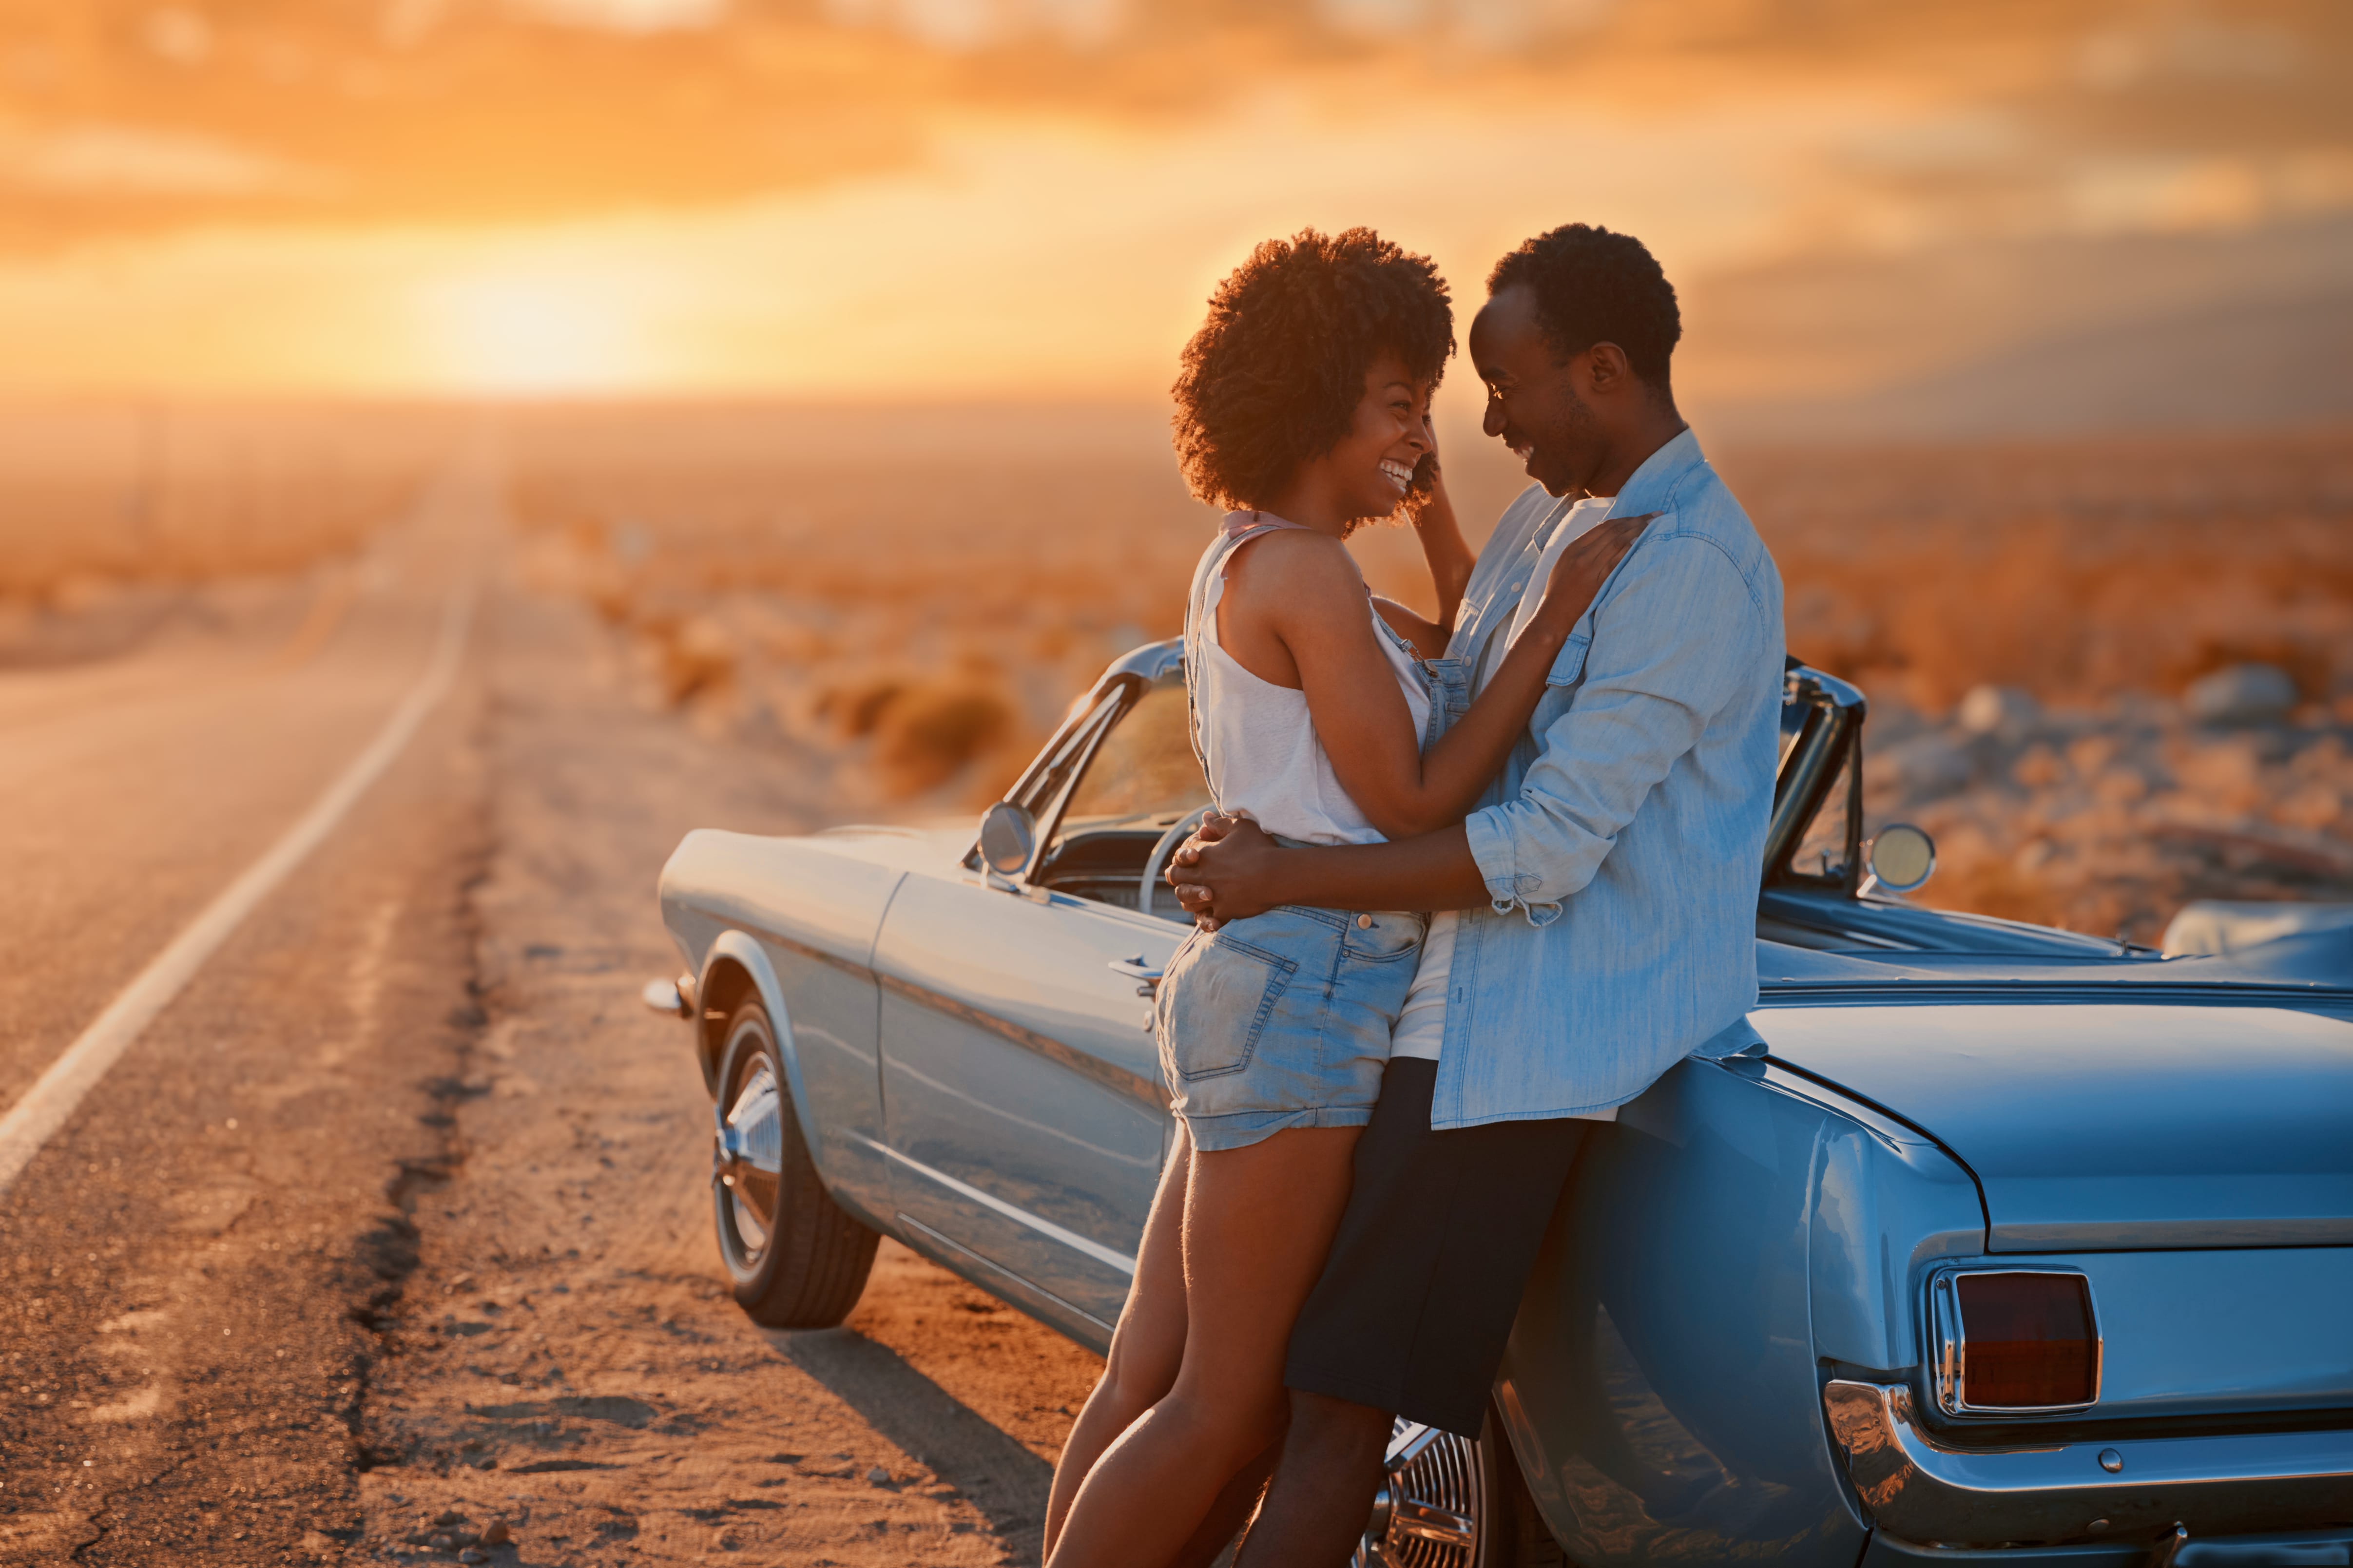
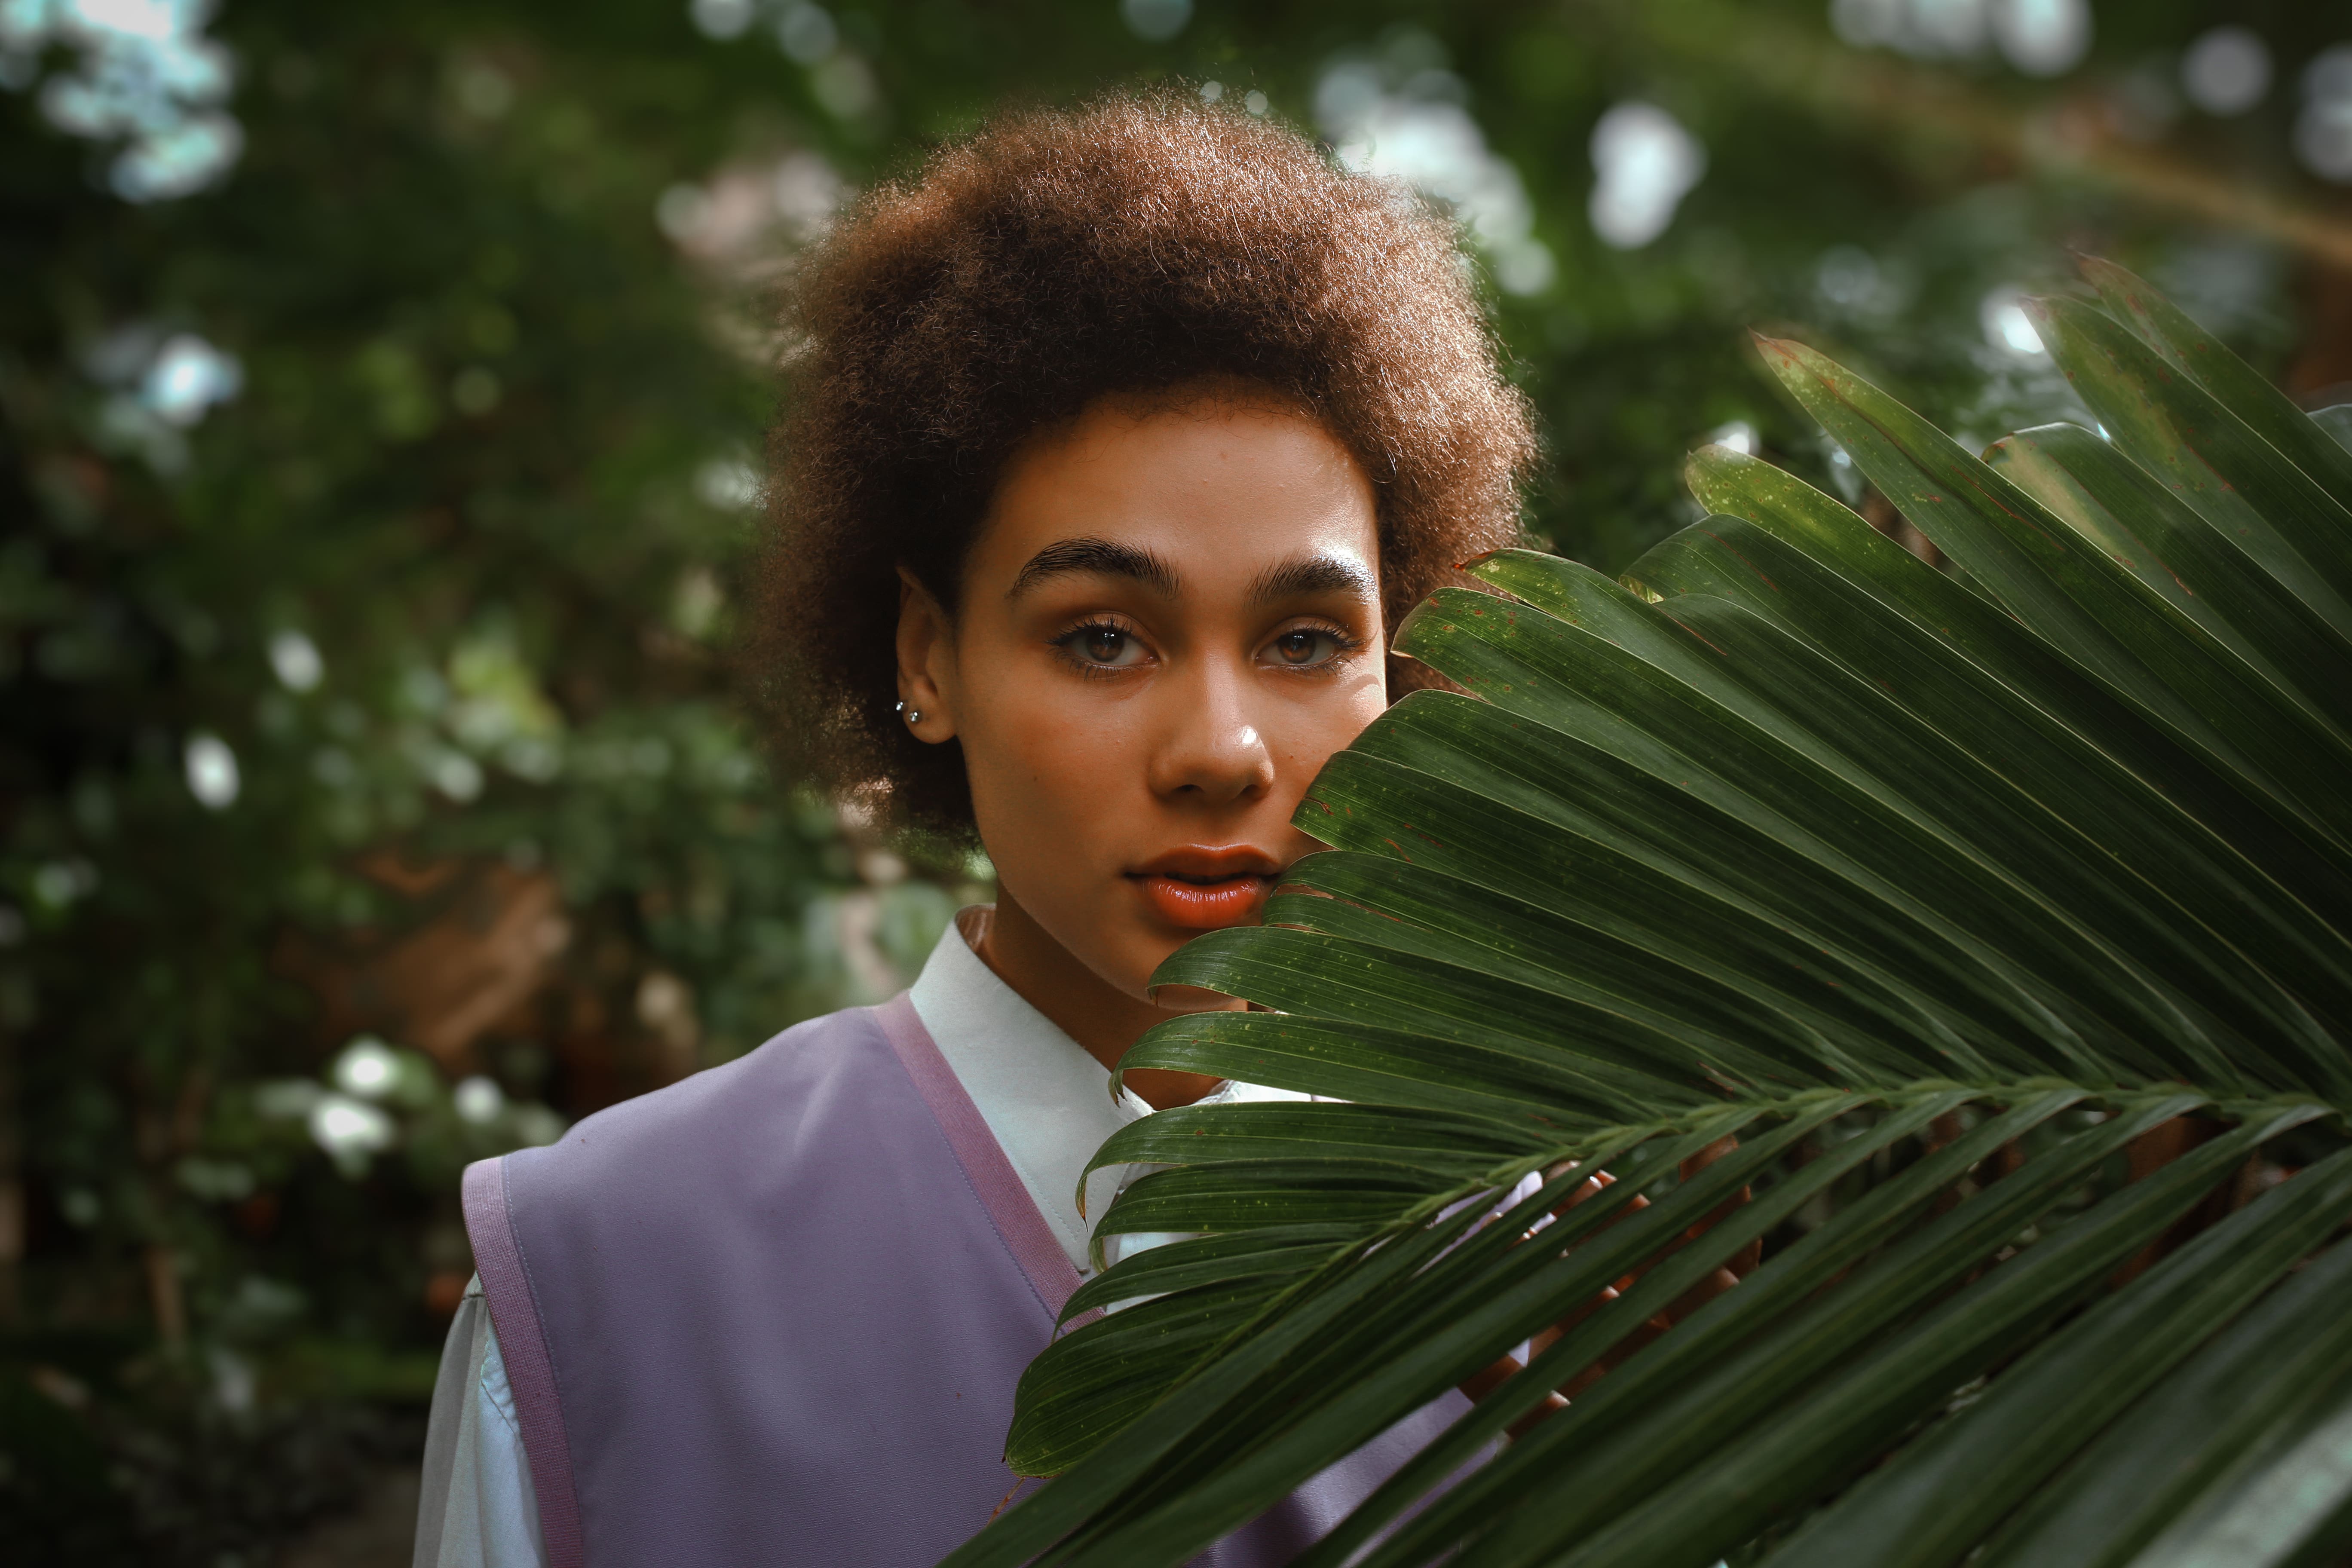
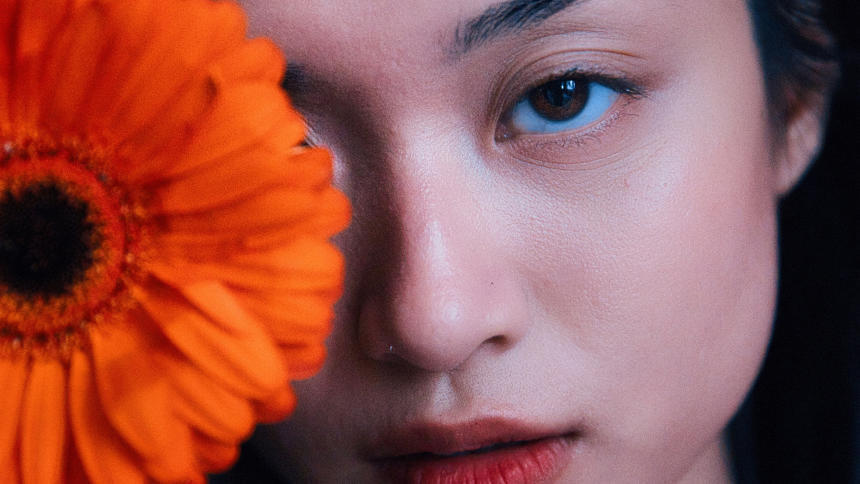
Seamlessly Blur Backgrounds
Enhance the visual aesthetics of your photo and focus the viewer's attention on the main subject by blurring the background. It’s easy in Luminar Neo
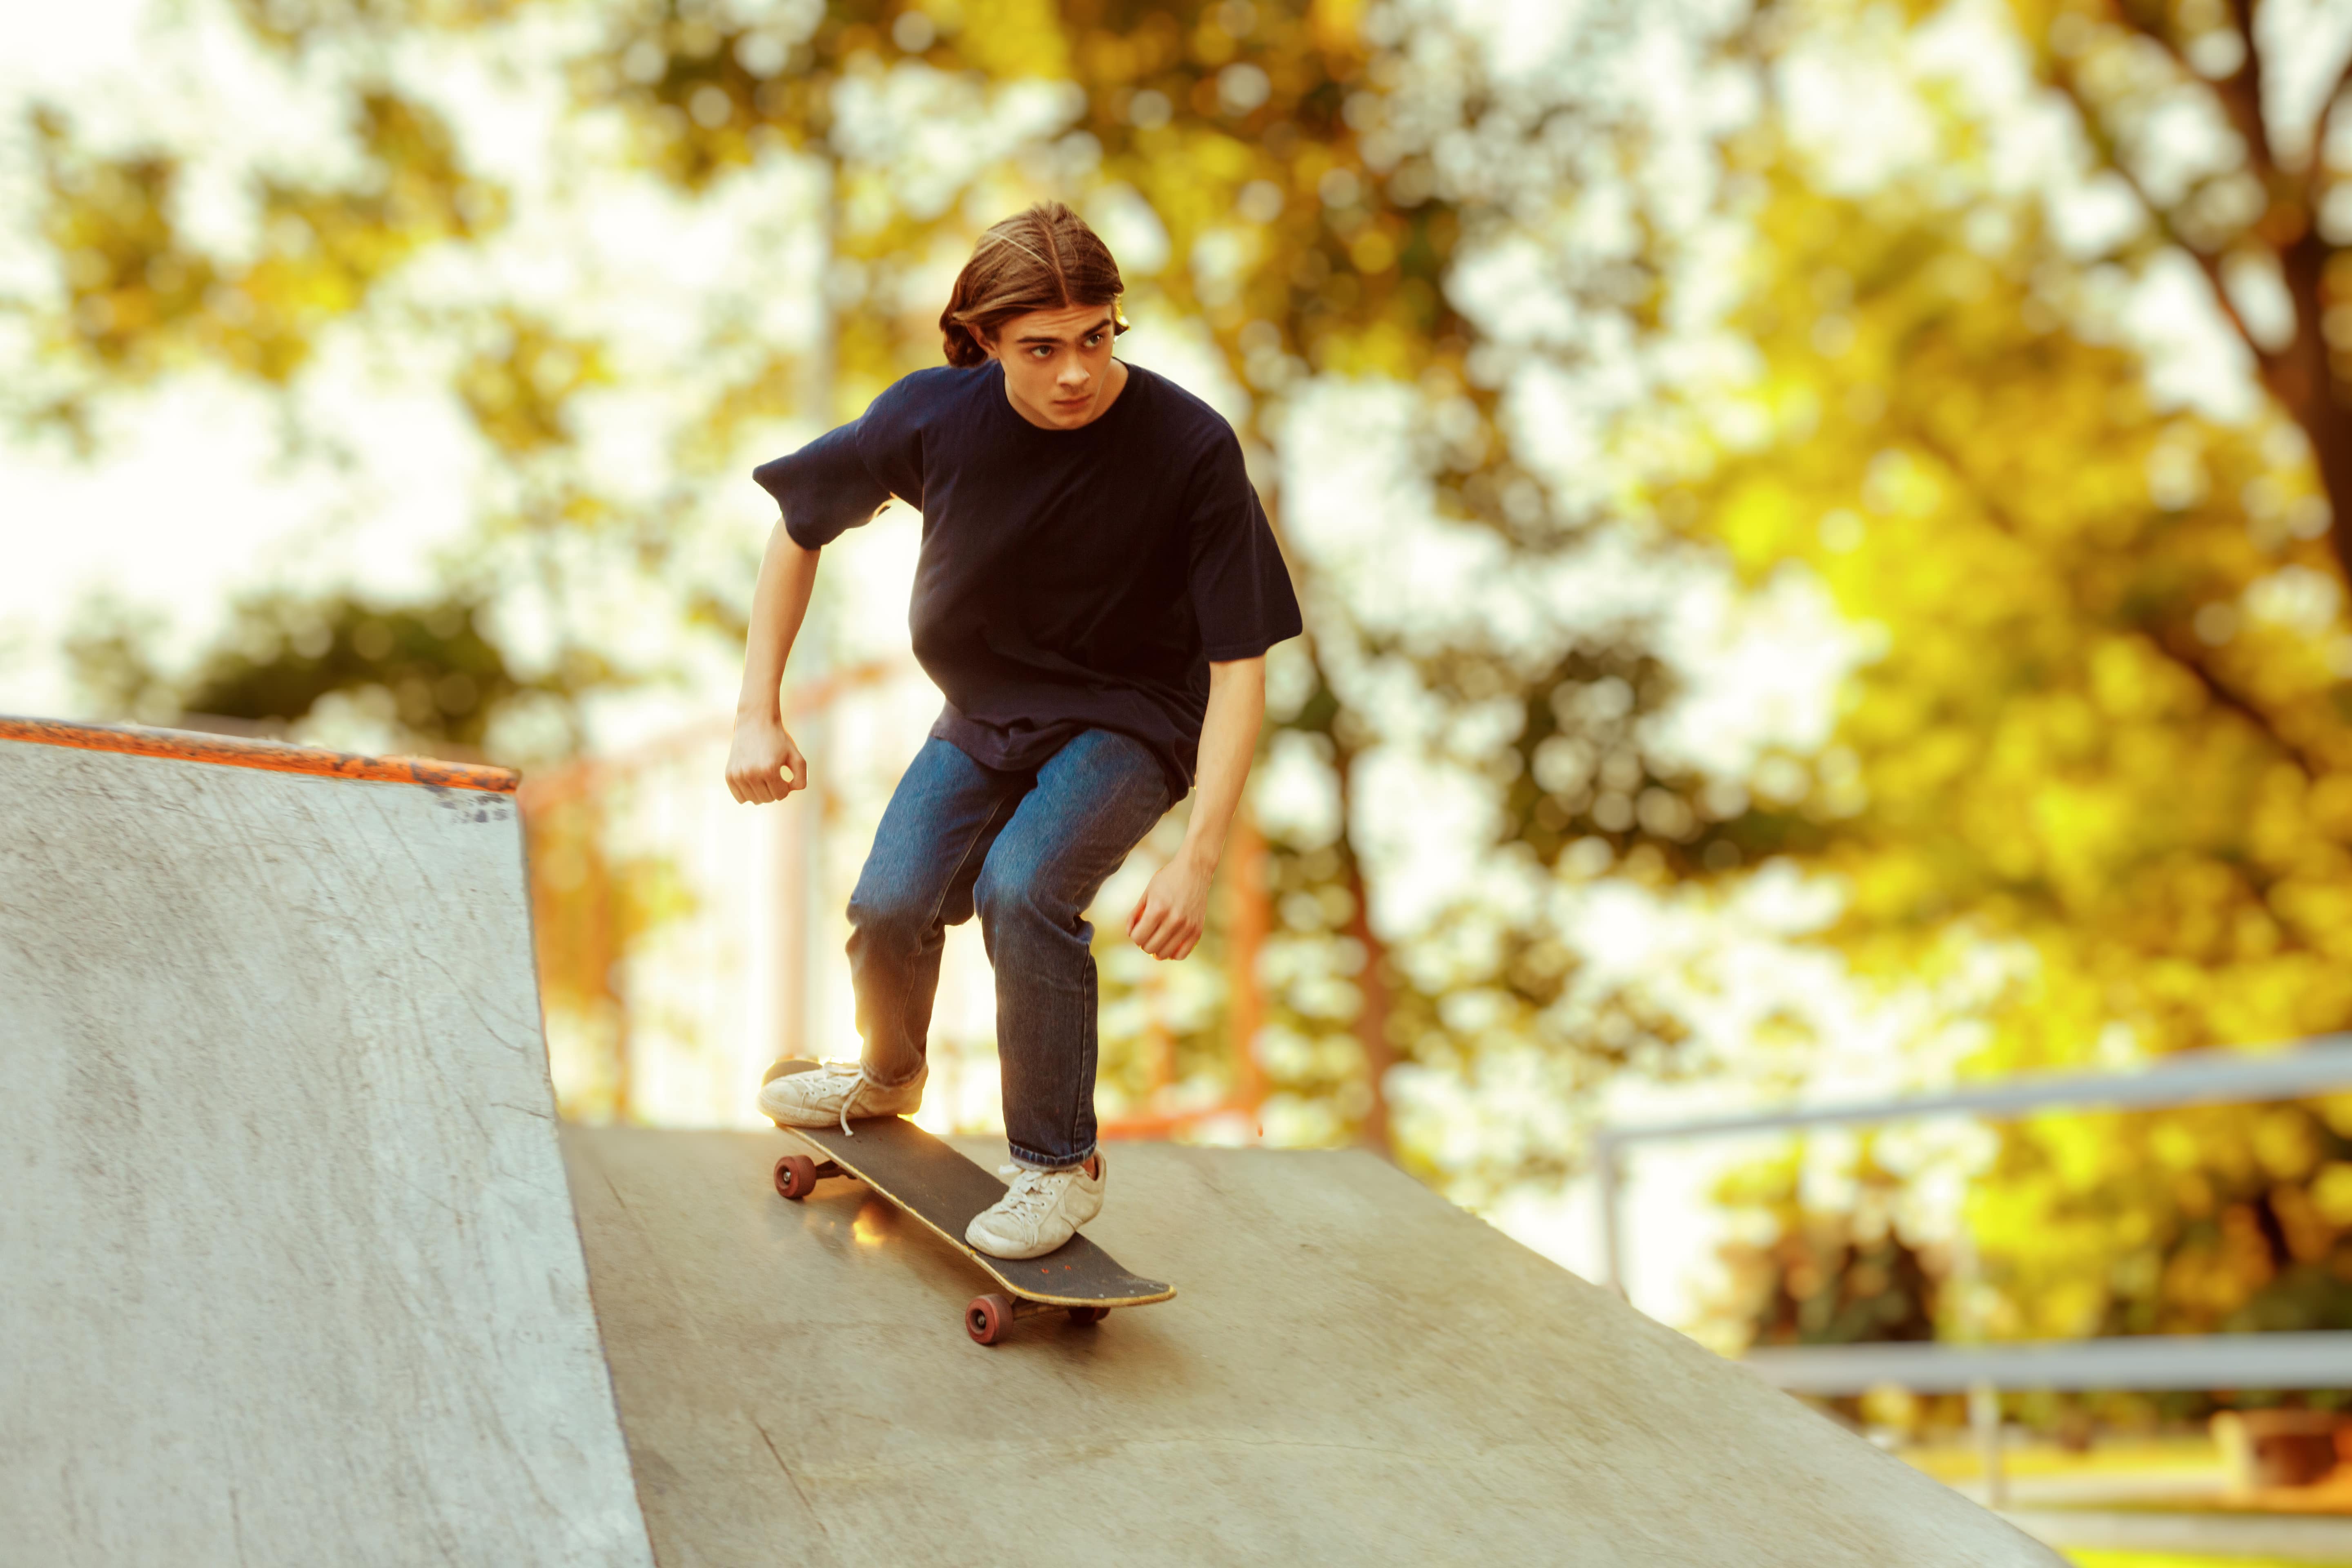
View plansHow To Create A Shallow Depth Of Field For A Blurred Background Effect?
To blur the background of an image while you’re taking a photo, use a wide aperture (low f-number), choose a longer focal length, get closer to your subject, or use a manual mode to control the depth of field. If that’s too technical for you, you can easily achieve the same effect in post-processing.
Why Do Photographers Choose Our Photo Editor To Blur Background Tool?
Luminar Neo has a few options to blur the background in a photo. If you want to add a charming bokeh effect to a portrait, you can do so with the automatic Portrait Bokeh AI tool that detects the subject and easily applies a bokeh effect.
Otherwise, you can use the Blur tool to manually mask the background and apply a few different types of blur.
Otherwise, you can use the Blur tool to manually mask the background and apply a few different types of blur.


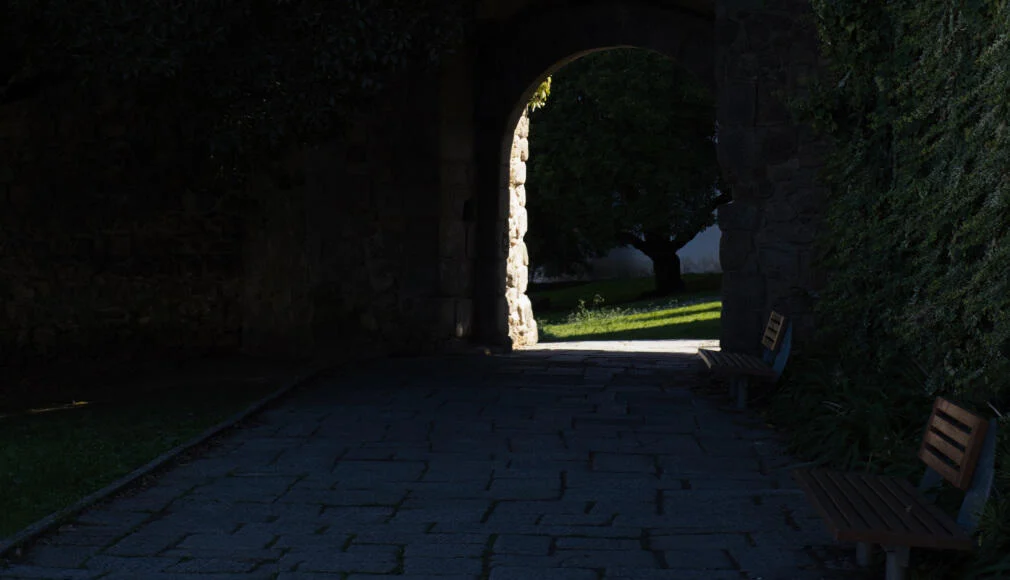
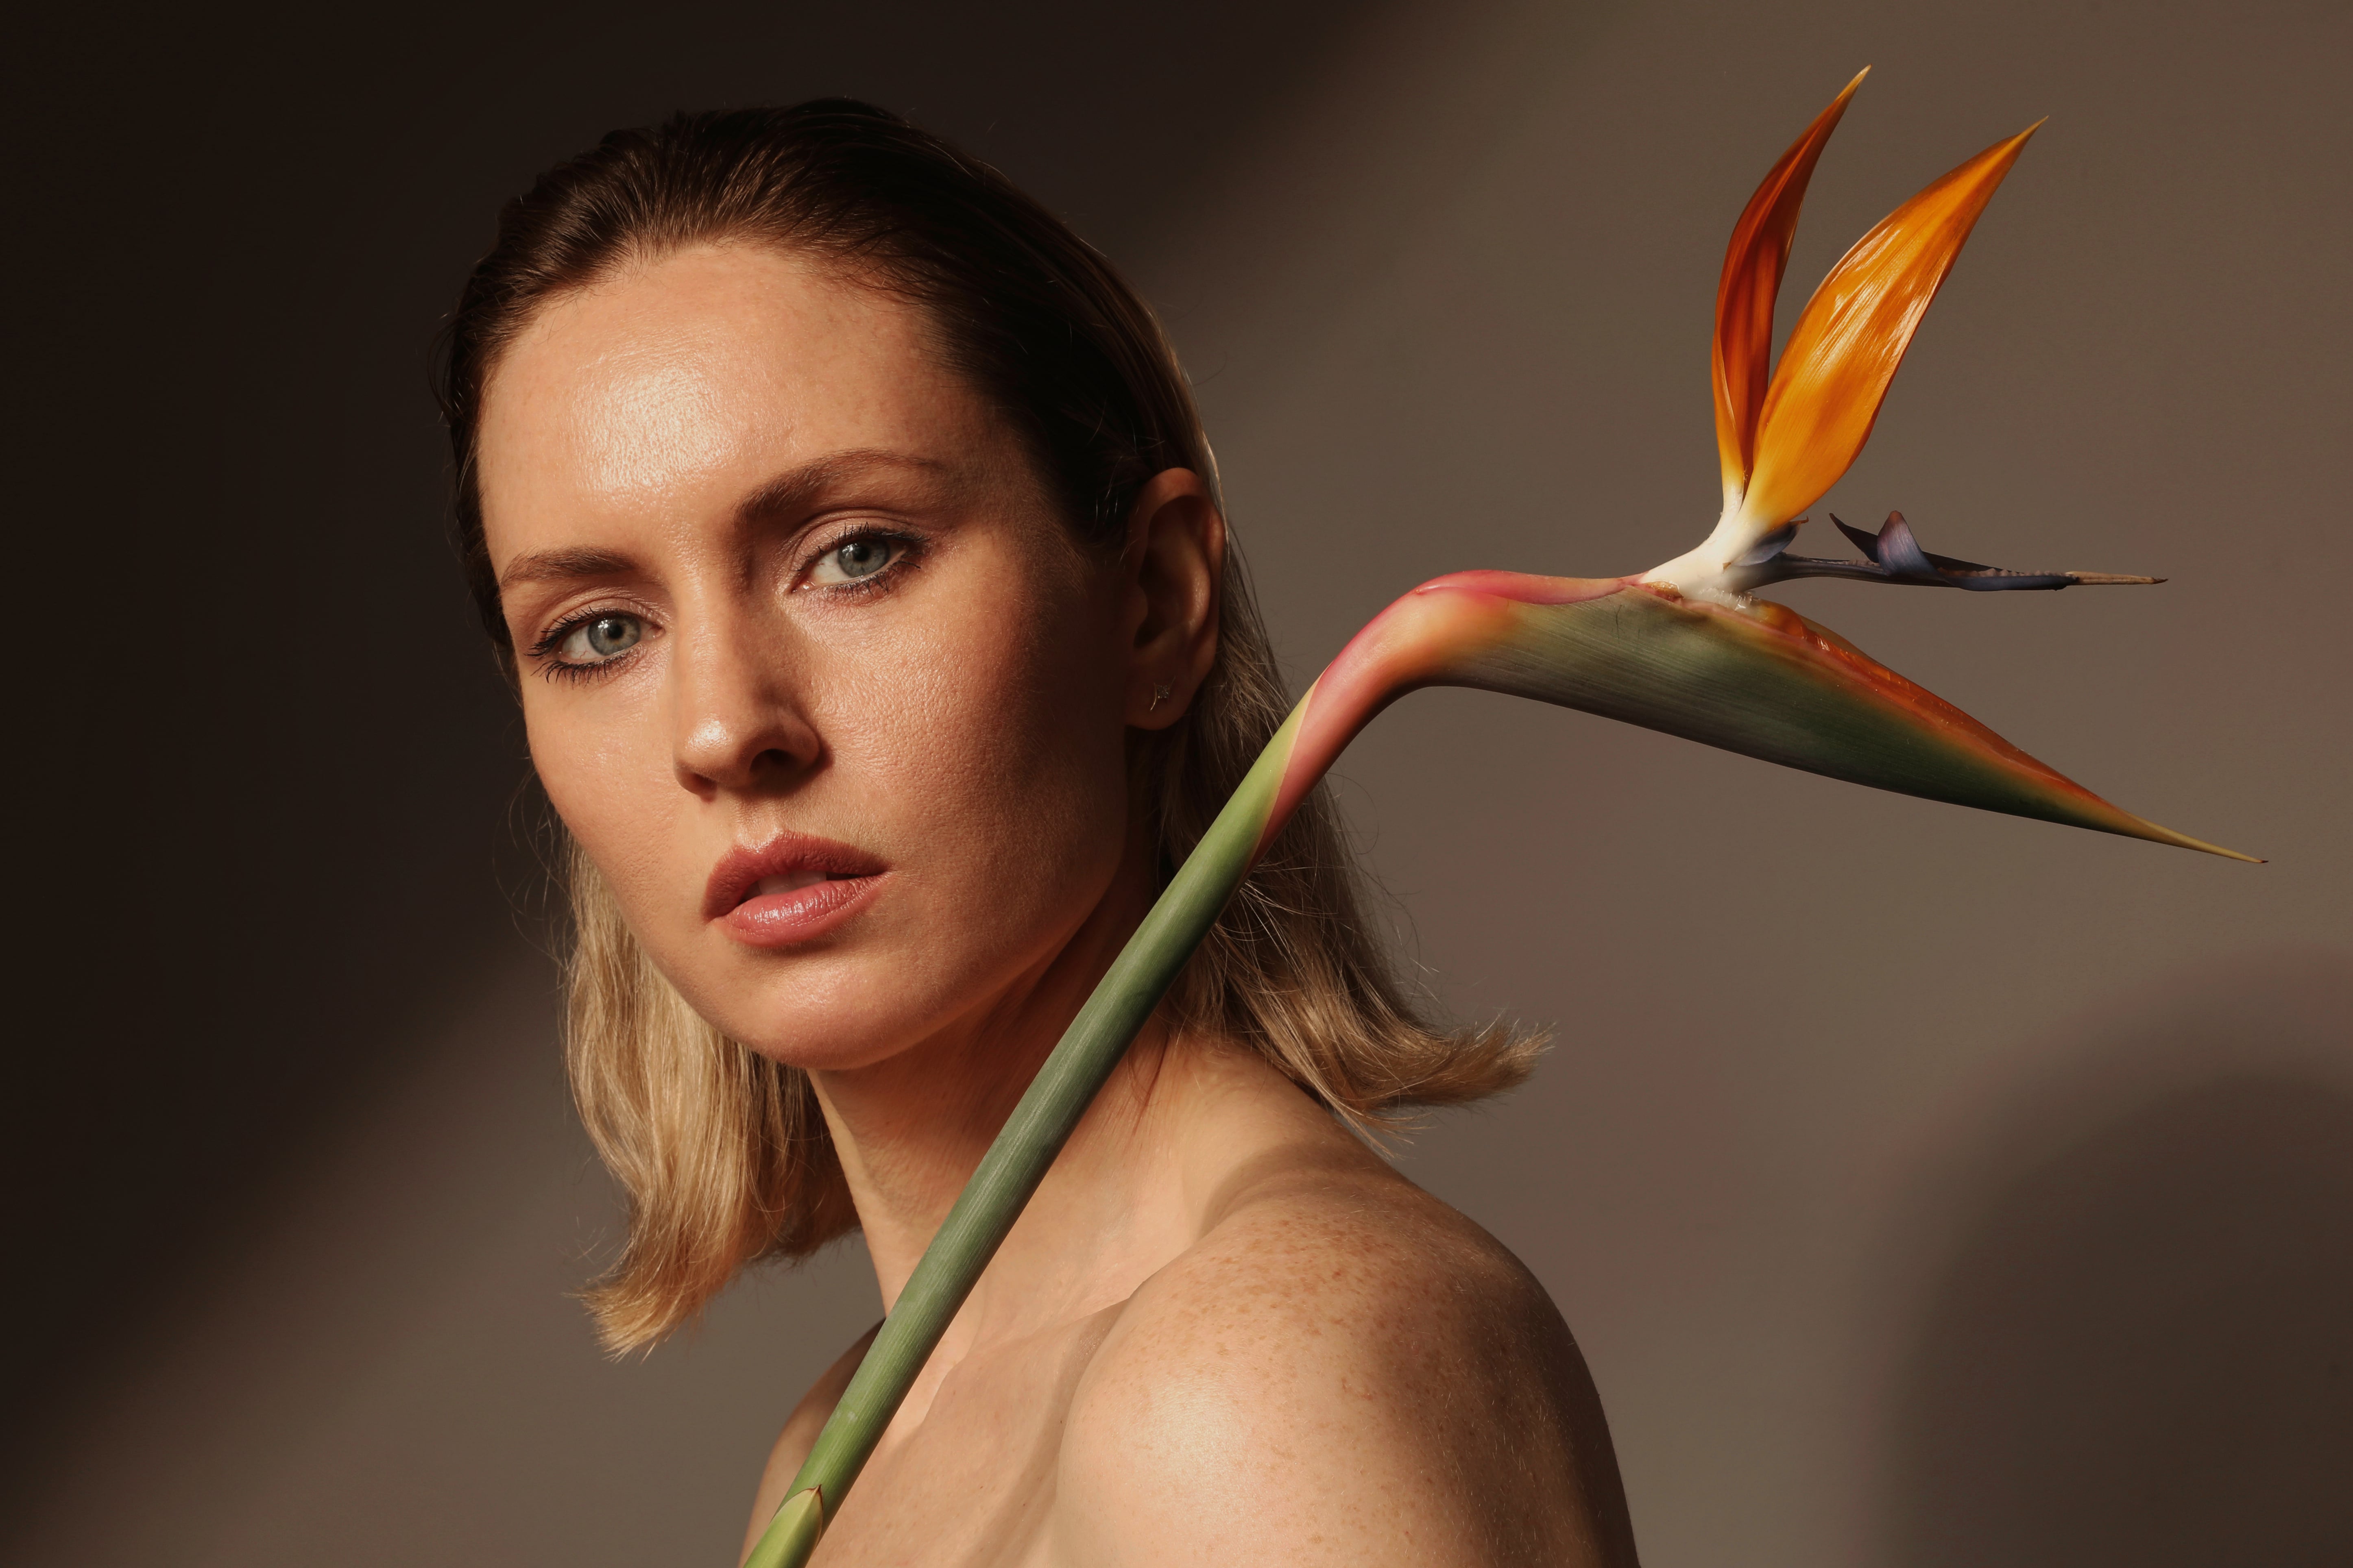
Before
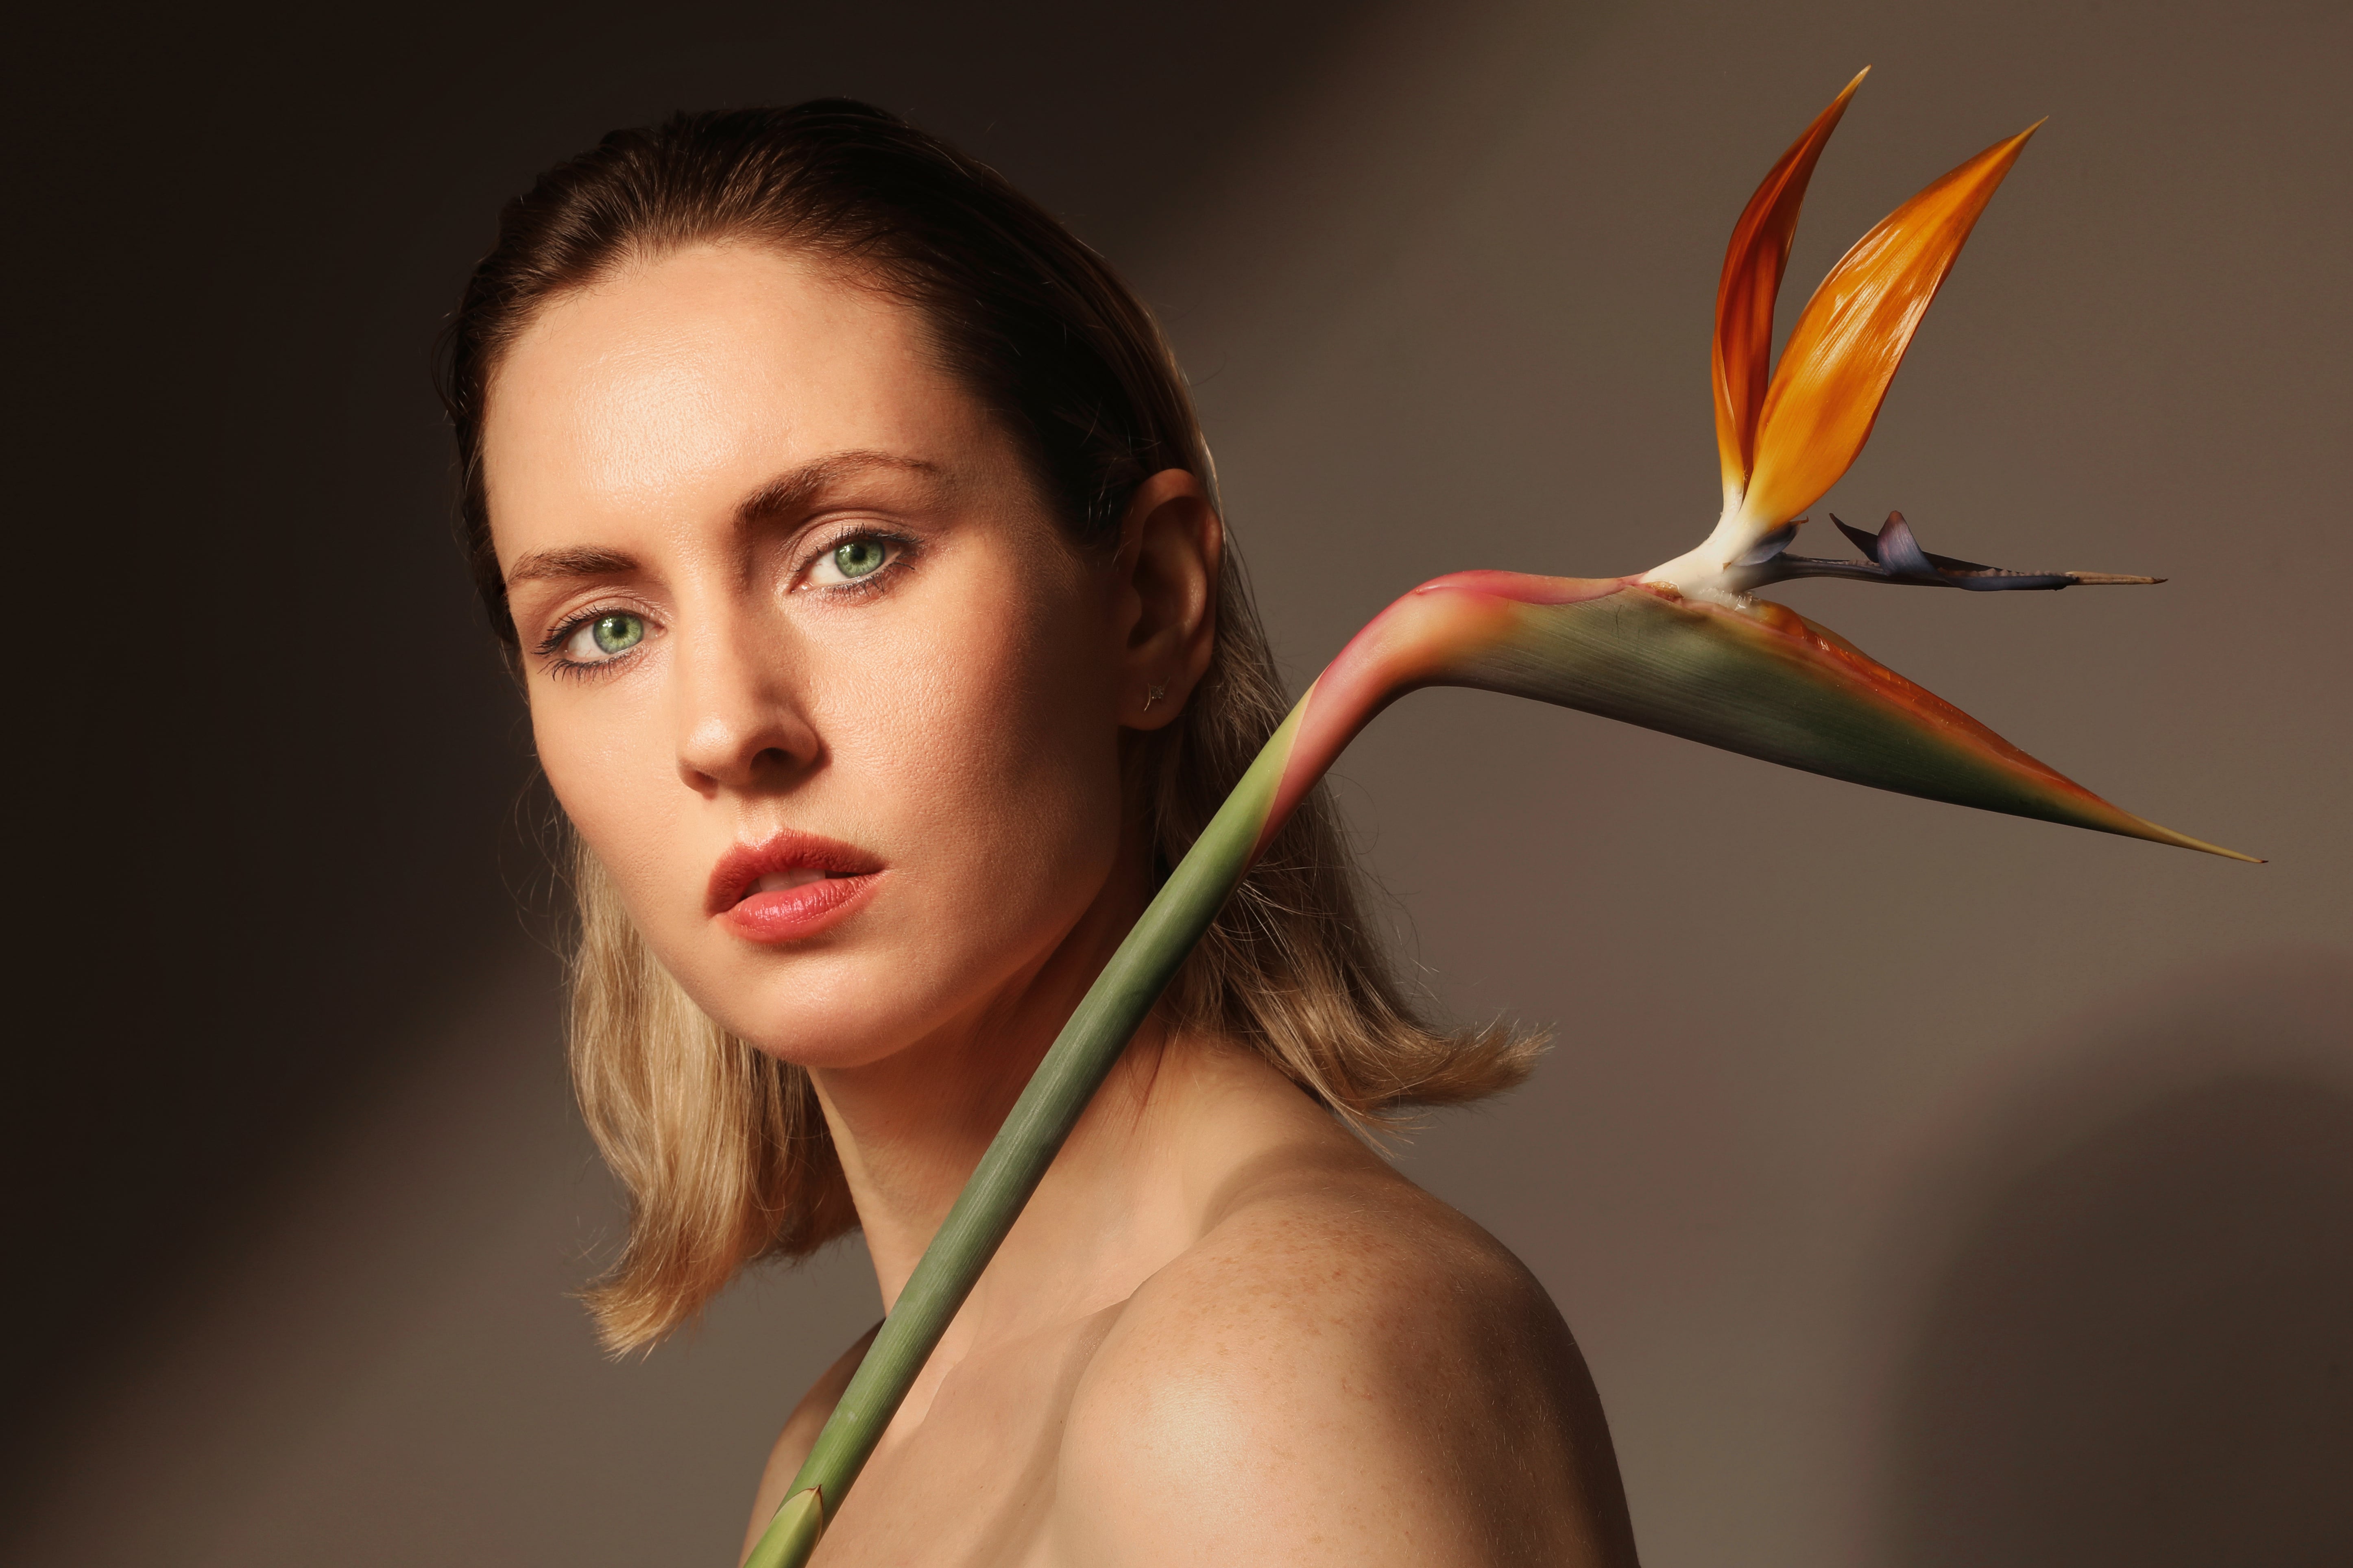
After
© Maryna Yurlovska
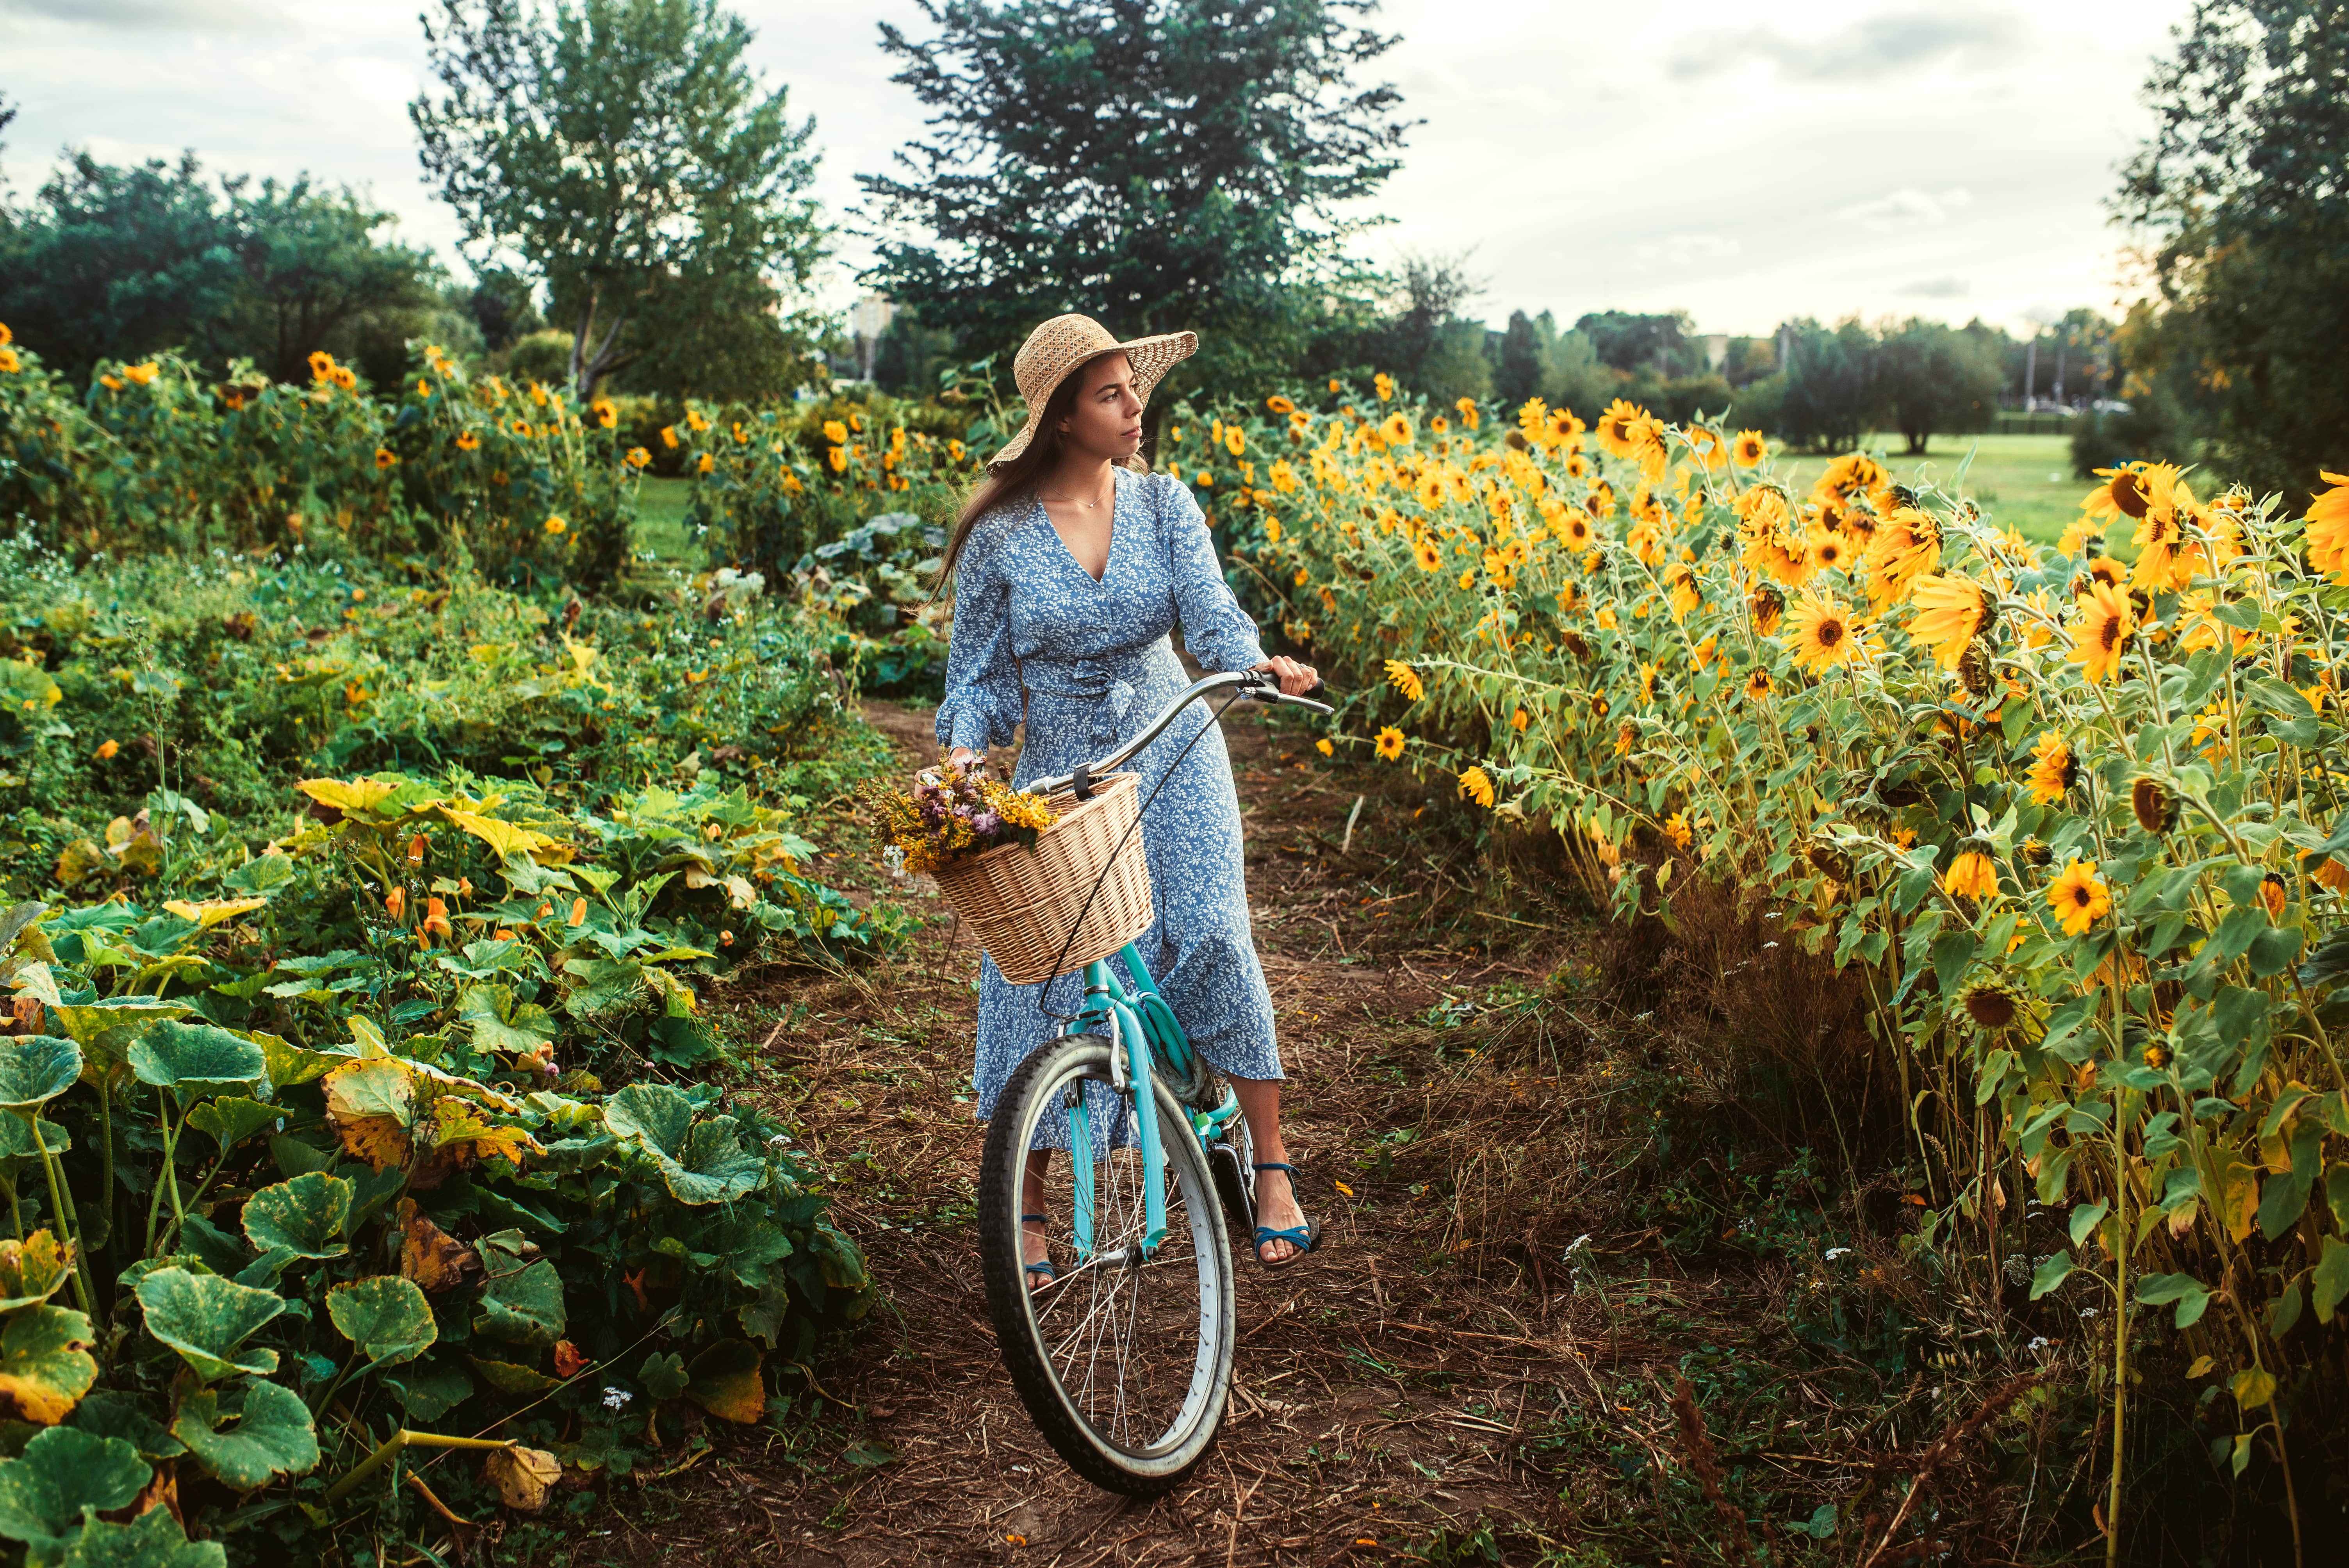
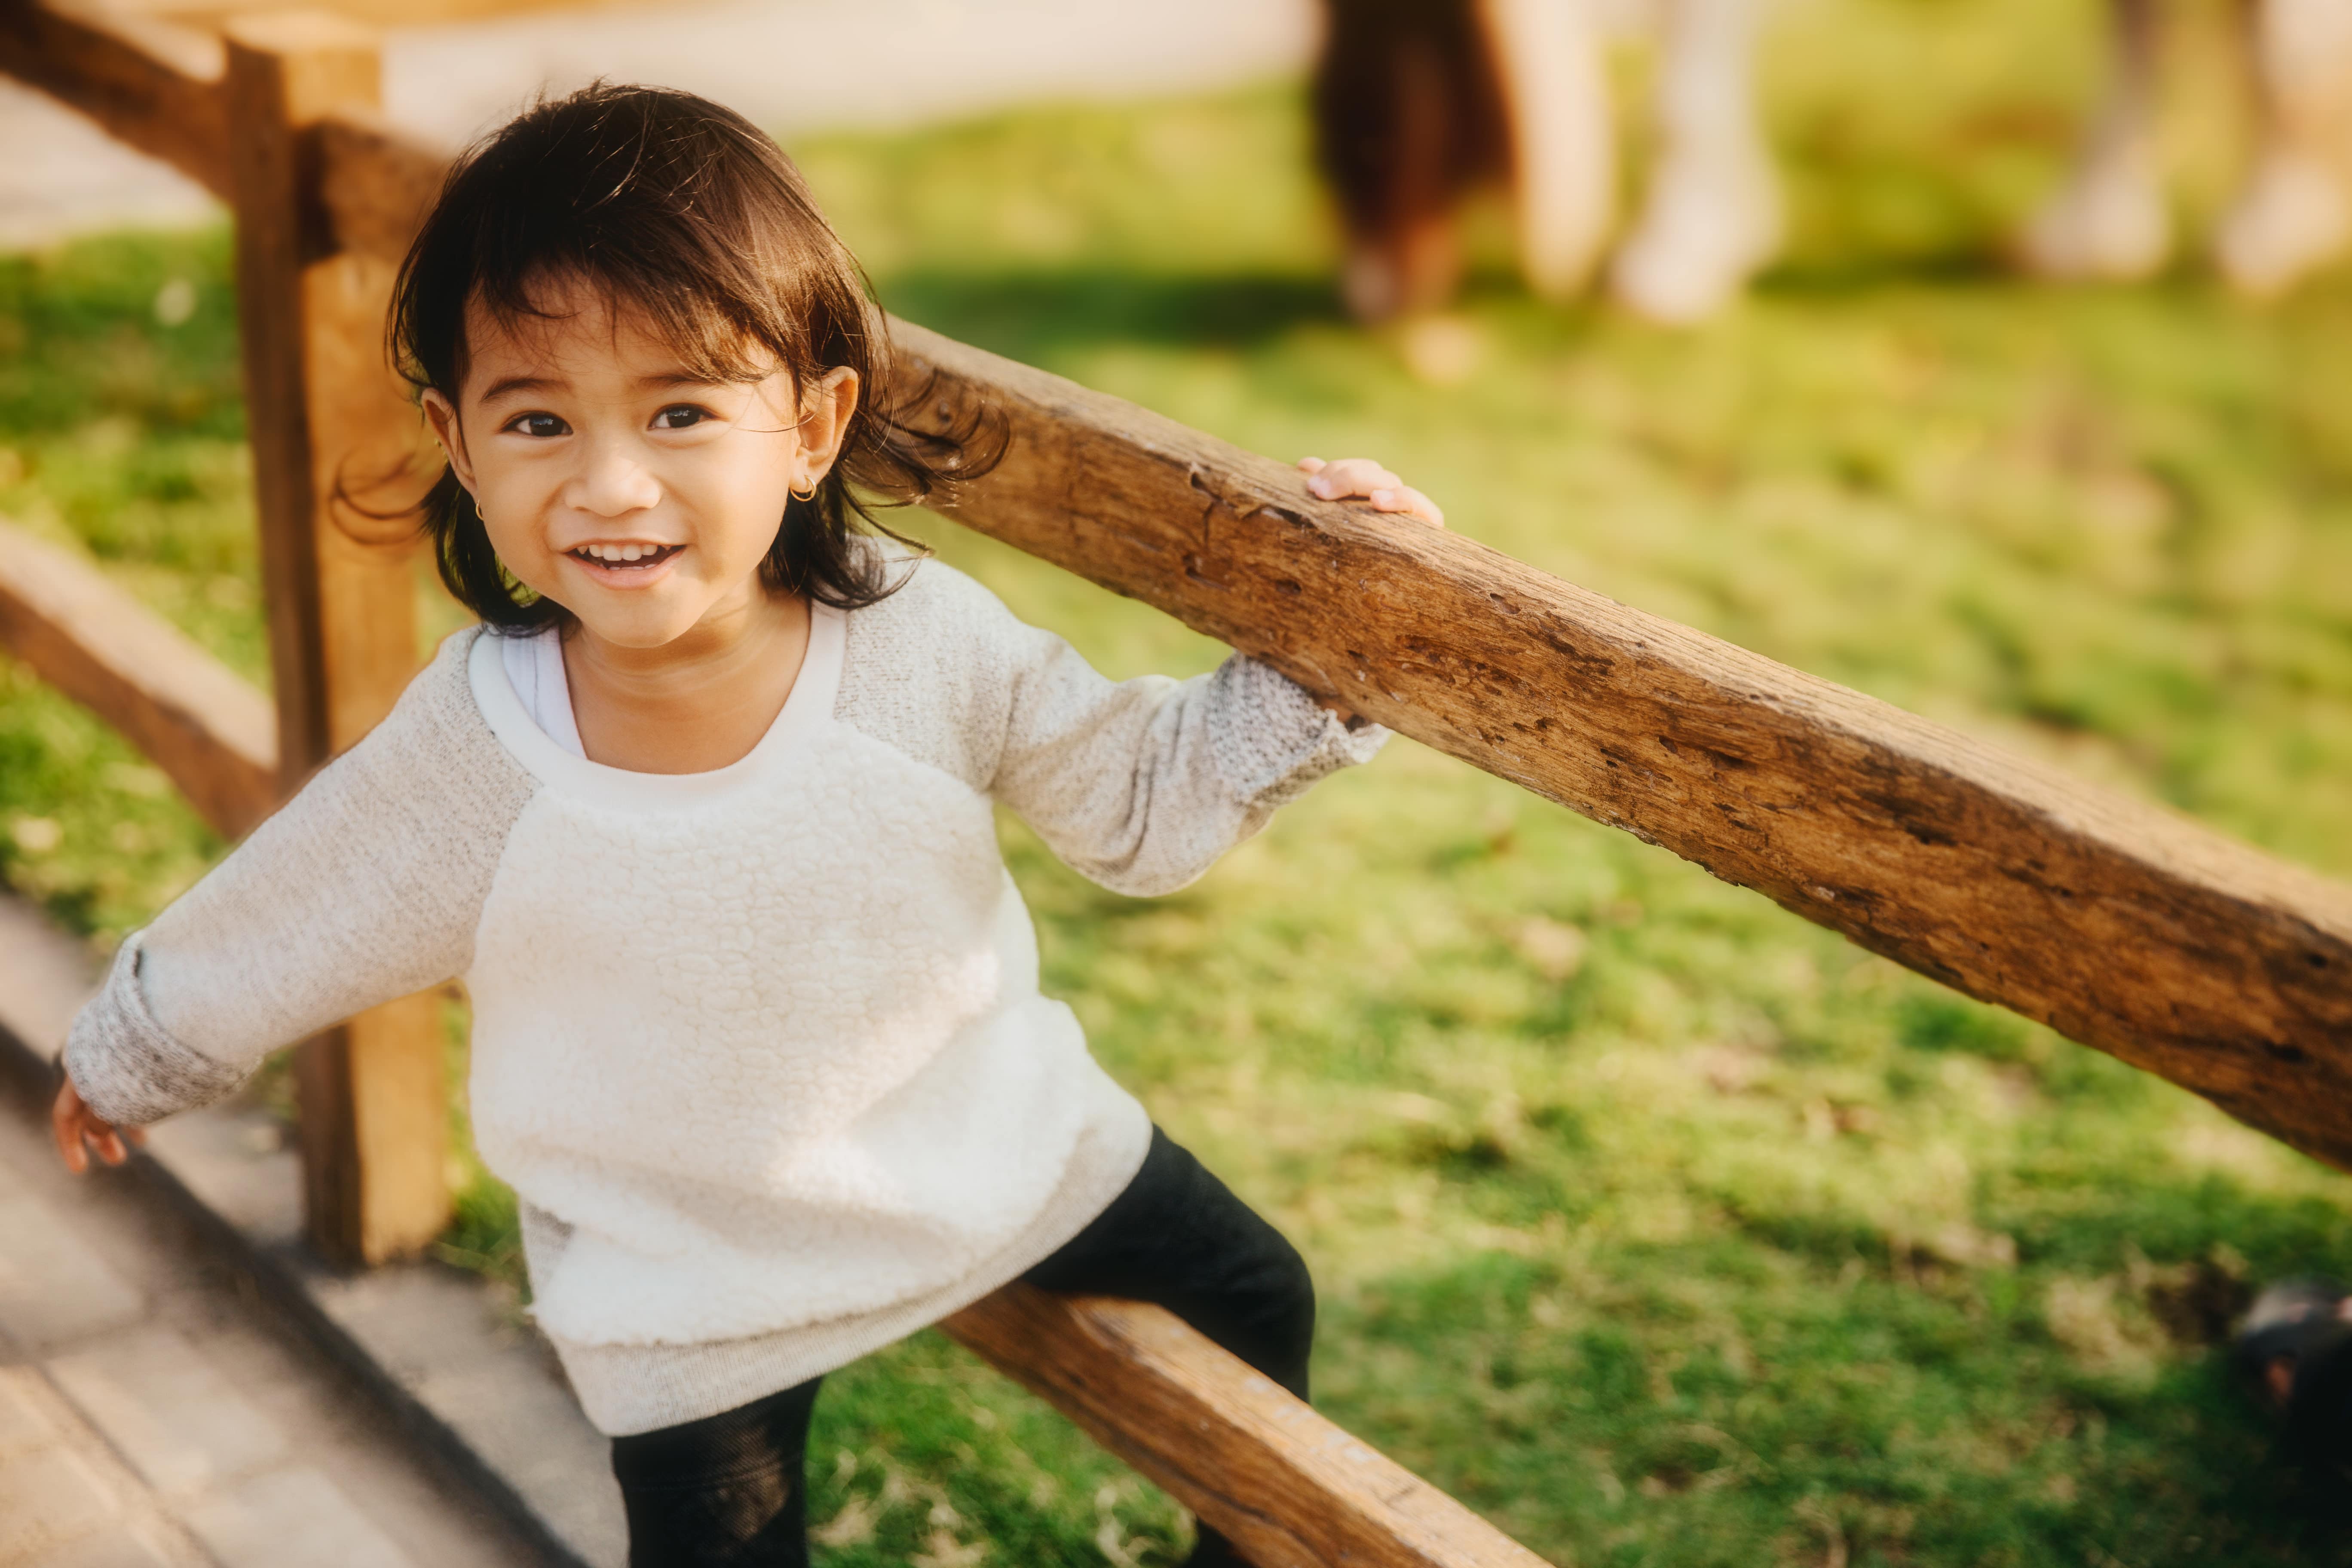
Elevating Visual Impact And Appeal With
A Blur Background Editor
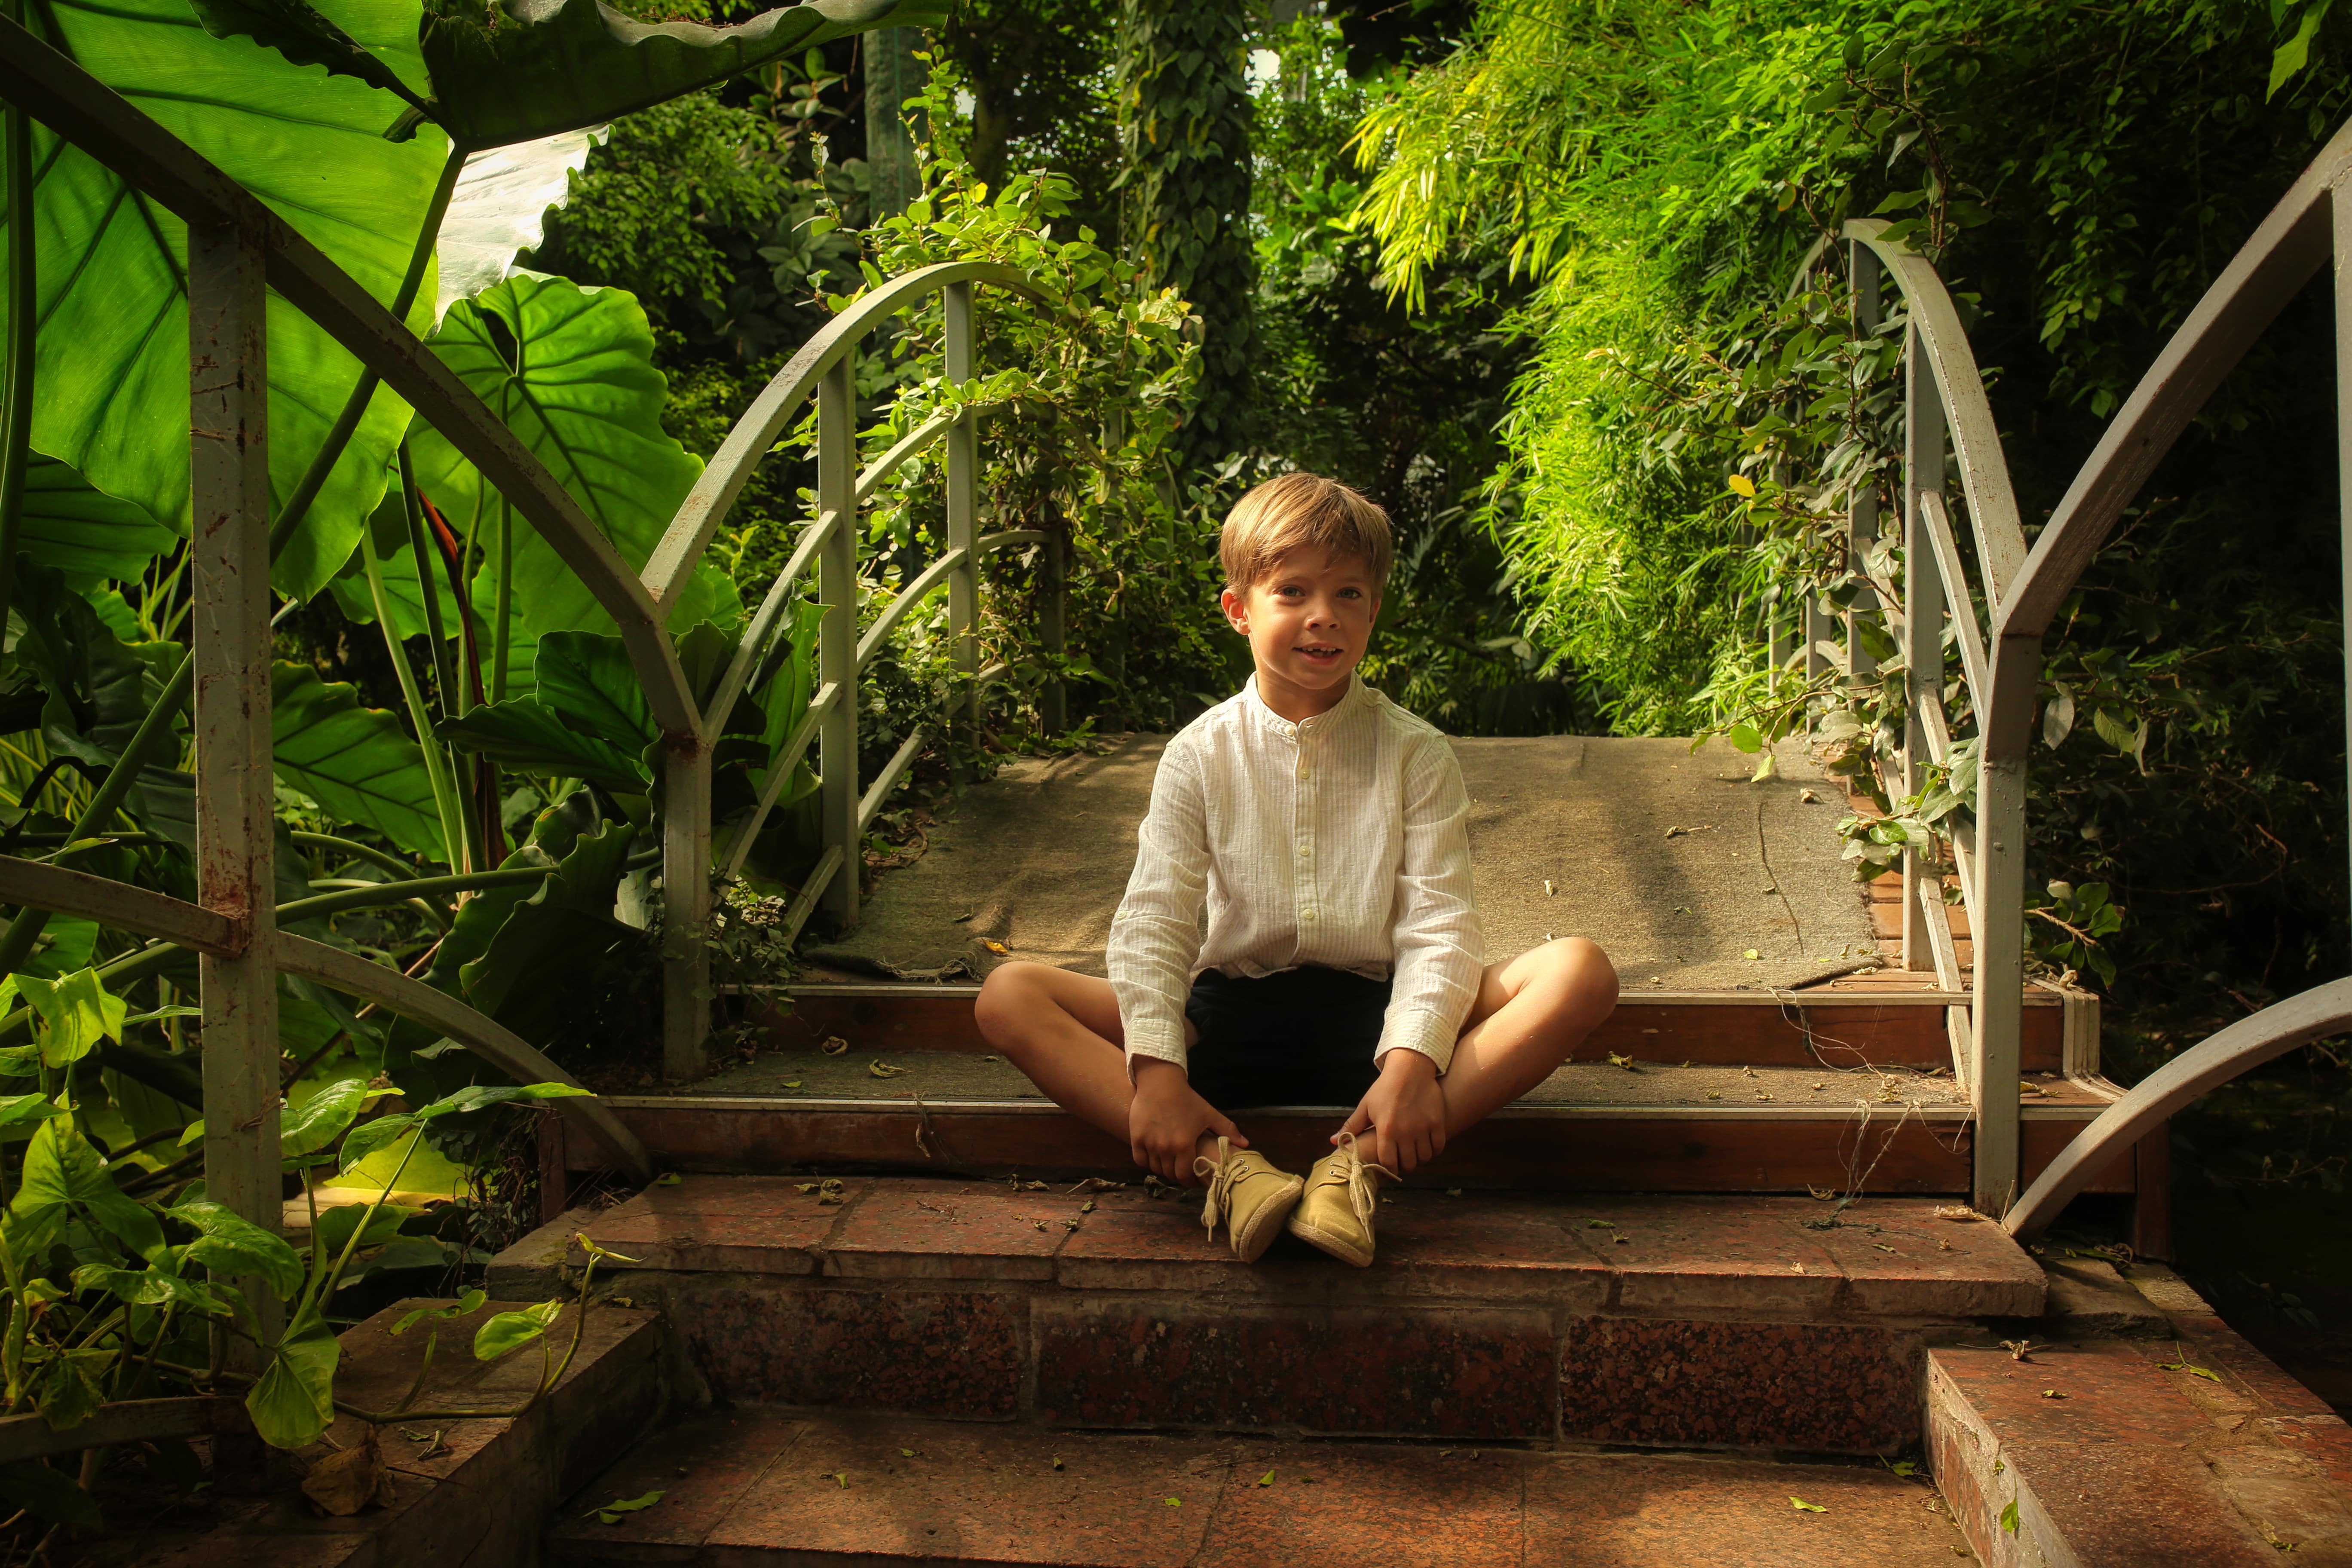
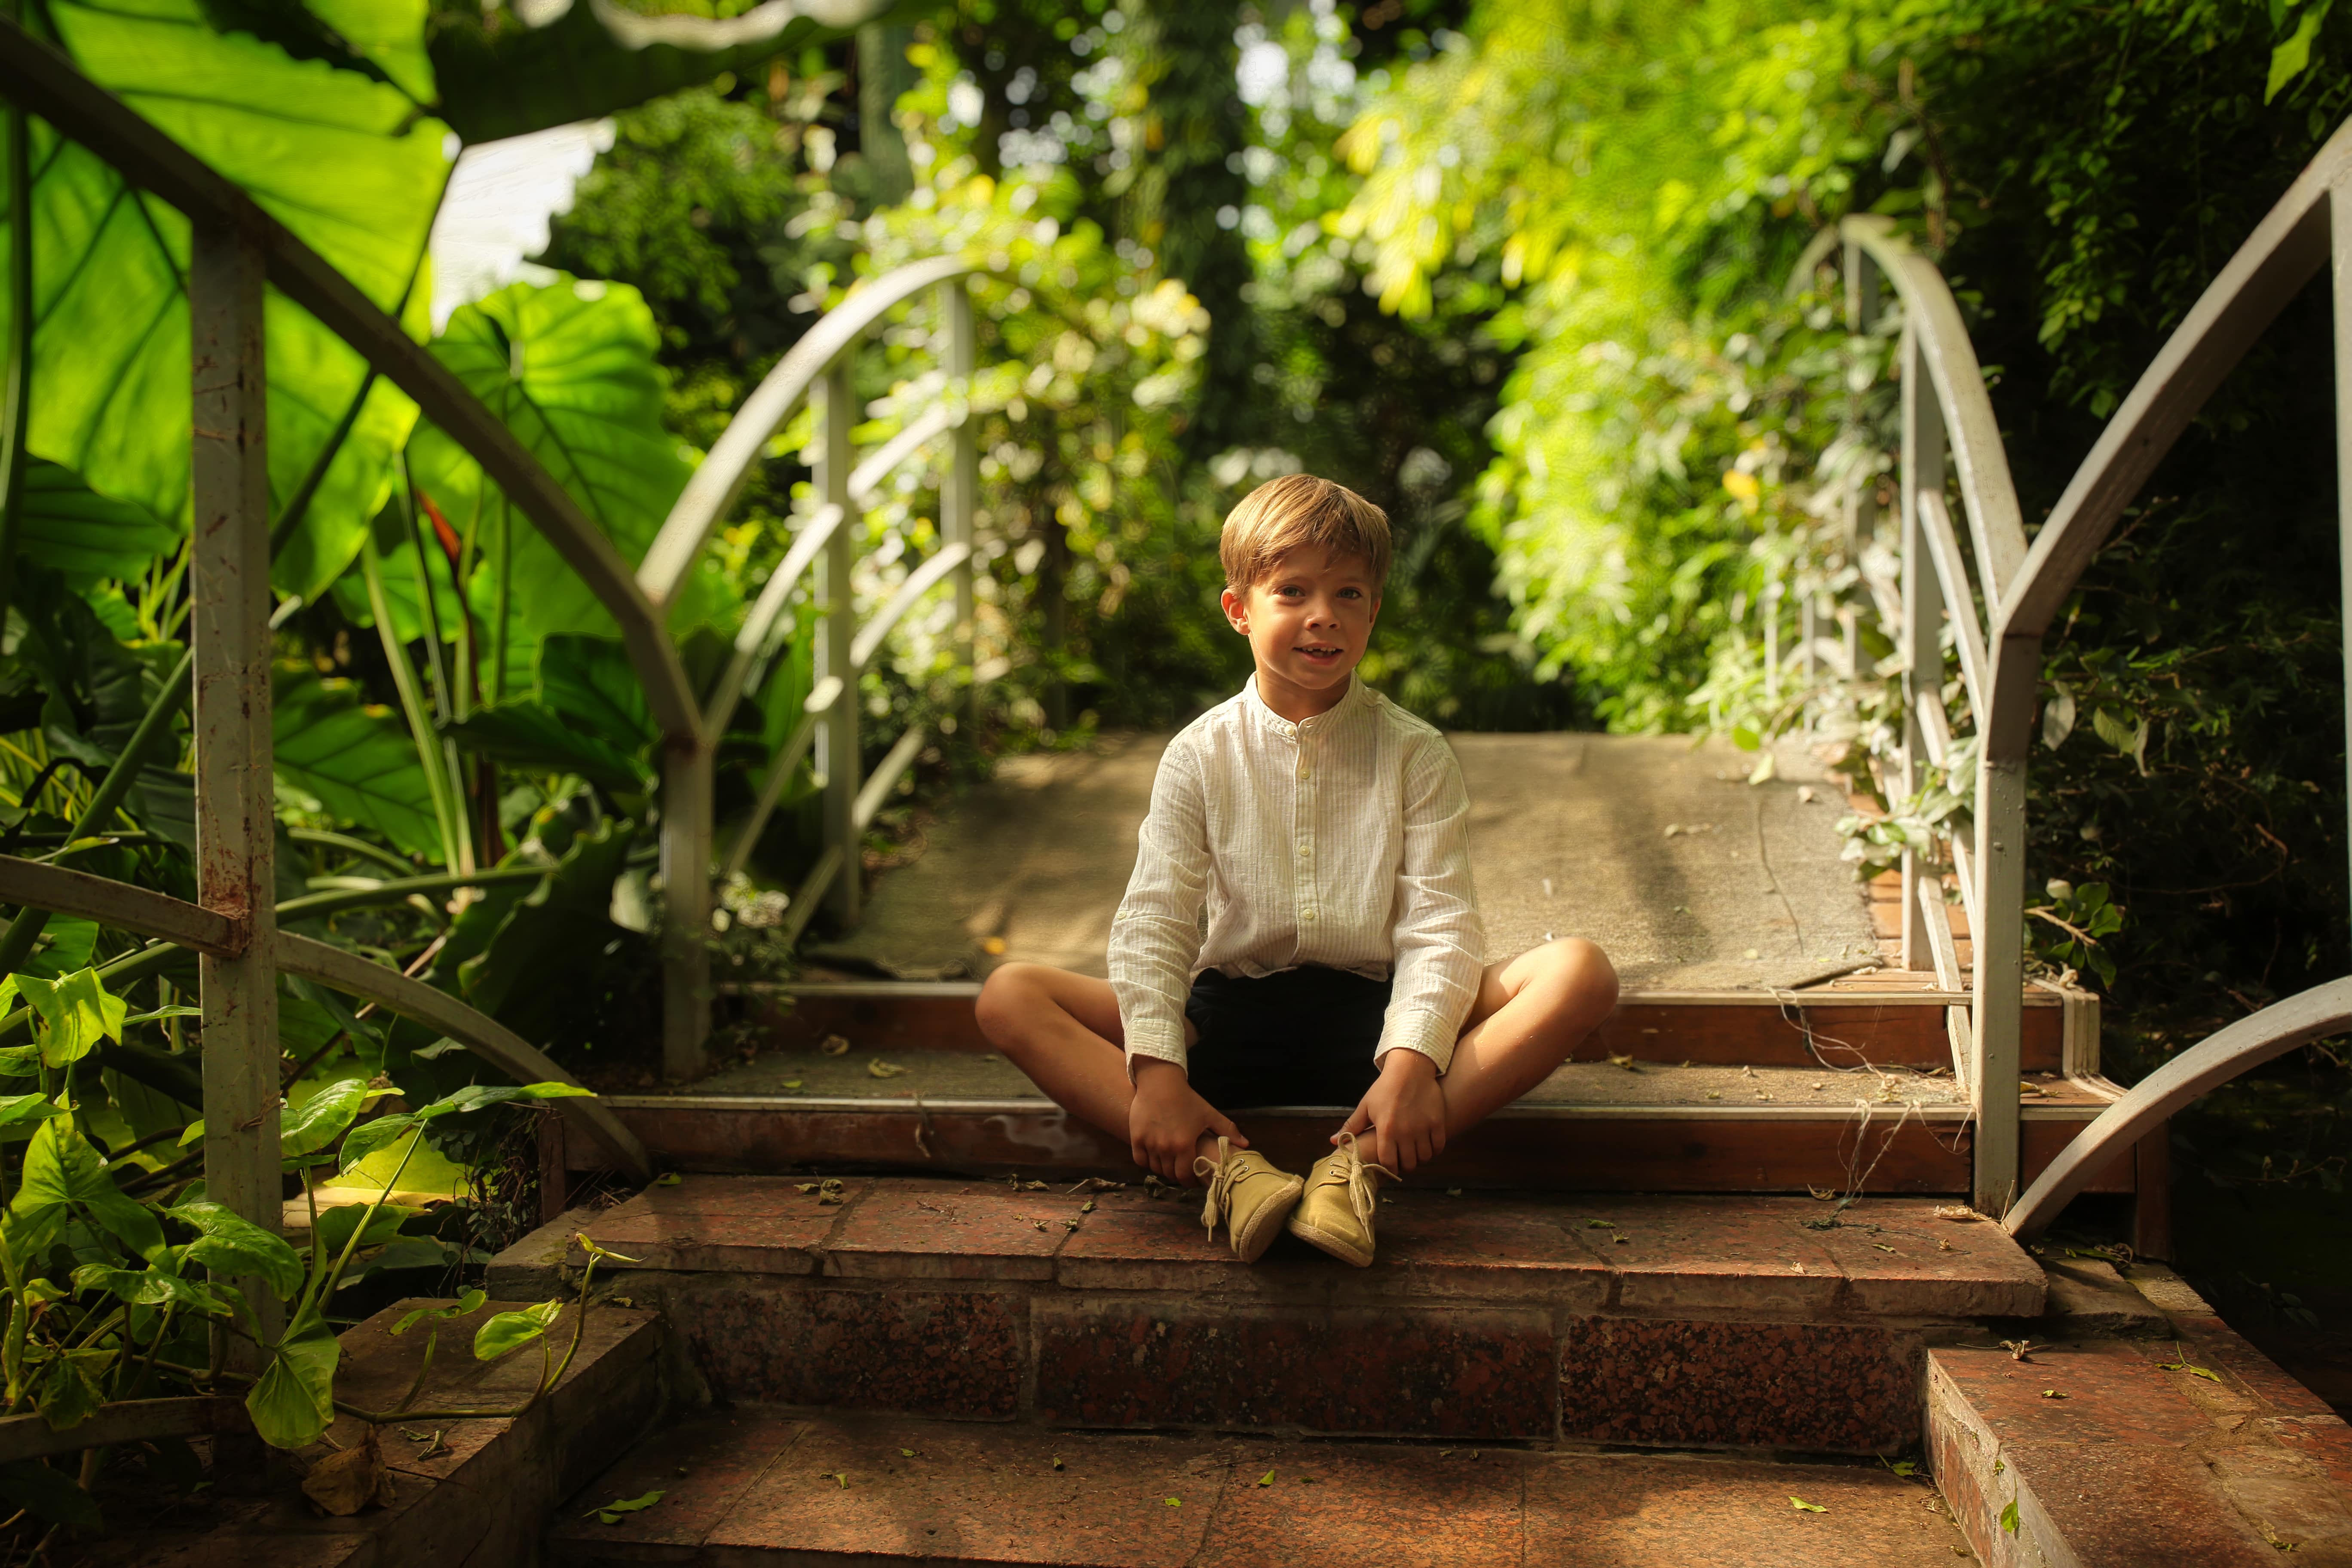
Luminar Neo offers a few ways to blur the background, and for portraits the Portrait Bokeh AI tool is the best. The Background controls help you refine the quality of the bokeh or background blur. These are essential controls to be adjusted to match your personal taste.
© derepente


before
after
Brightness
Control the overall exposure of the background. Lighten or darken the background to further offset your subject. Fade the background of your image if needed.
Try on my photo© Maryna Yurlovska
before
after
Highlights Glow
Adjust the brightness of the brightest areas of the background, adding a soft glow.
Try on my photo© Maryna Yurlovska
before
after
Warmth
Refine the color temperature of the background by adjusting the amount. A negative value will cool the image by adding a blue tone, and a positive value will warm the image by adding a gold tone.
Try on my photo© Depositphotos

before
after
Depth Correction
Control where the out-of-focus area begins in a photo. Moving this slider to the left sets it closer to the camera and moves it further away to the right. As a result, the bokeh effect appears stronger or weaker.
Try on my photo© Maryna Yurlovska
before
after
Edges Correction
Expand or contract the soft edges of the mask; adjust the fine details in a mask, like hair.
Try on my photoBrightness
Highlights Glow
Warmth
Depth Correction
Edges Correction
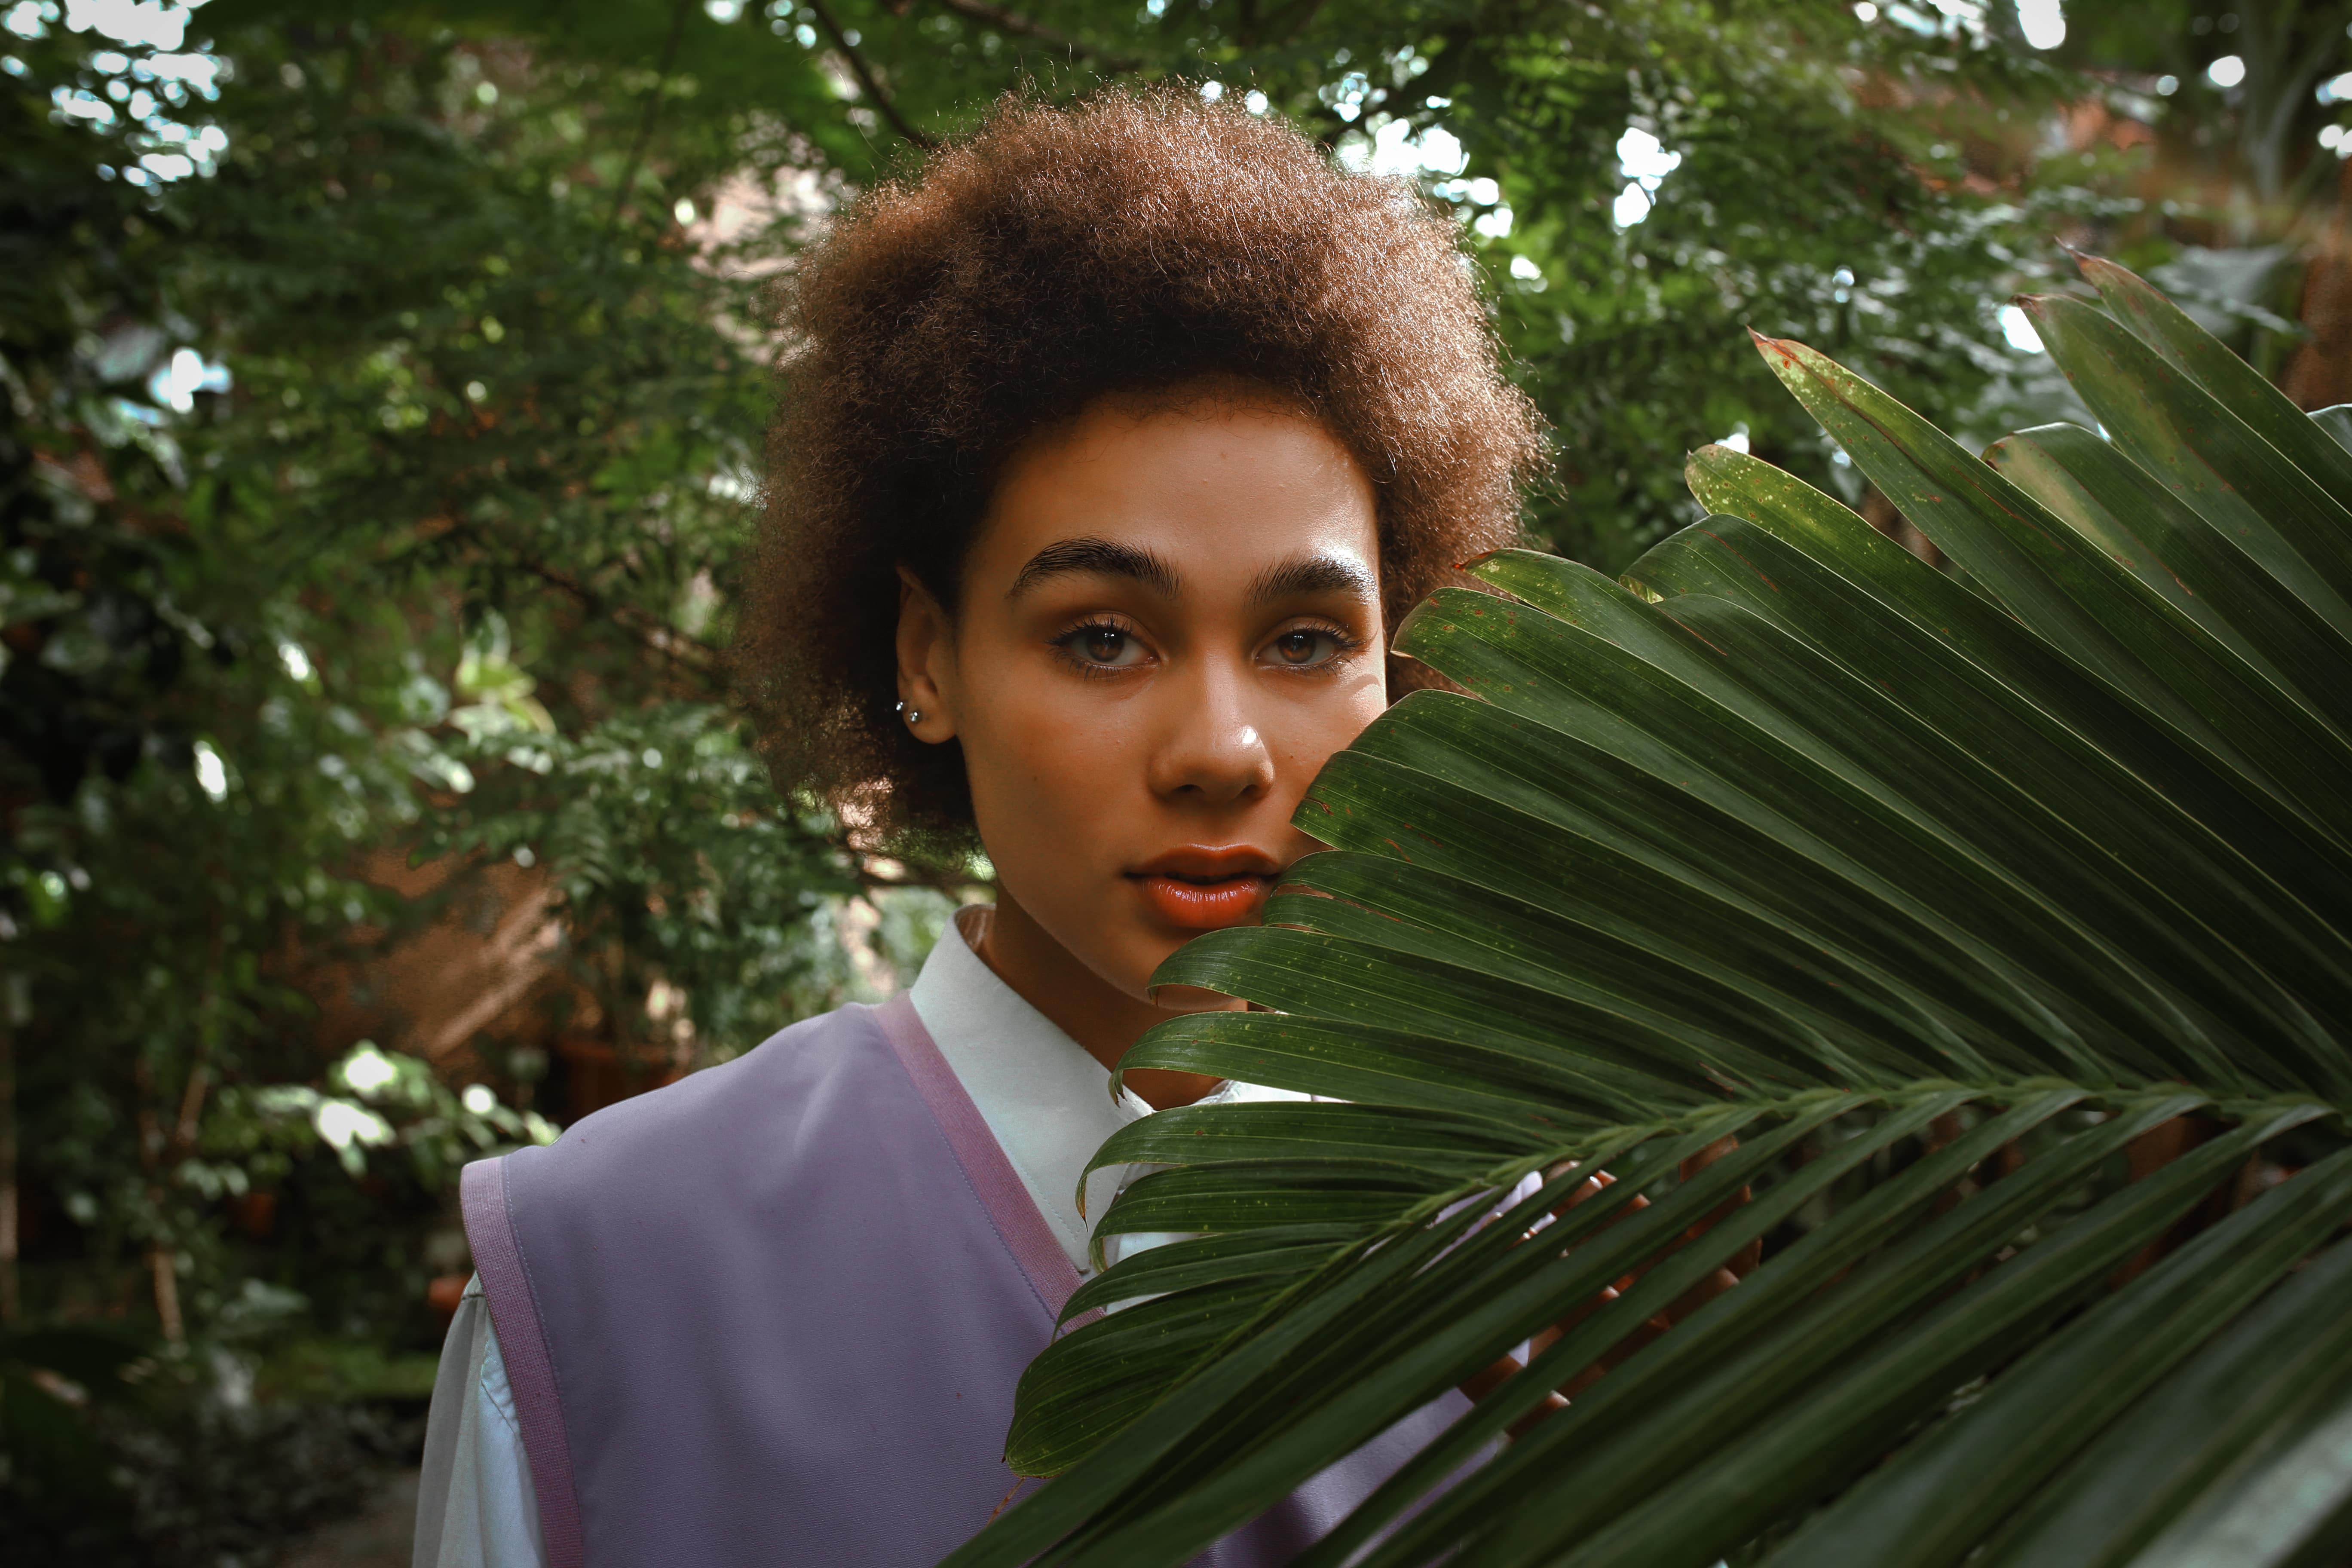
© Moha El-Jaw
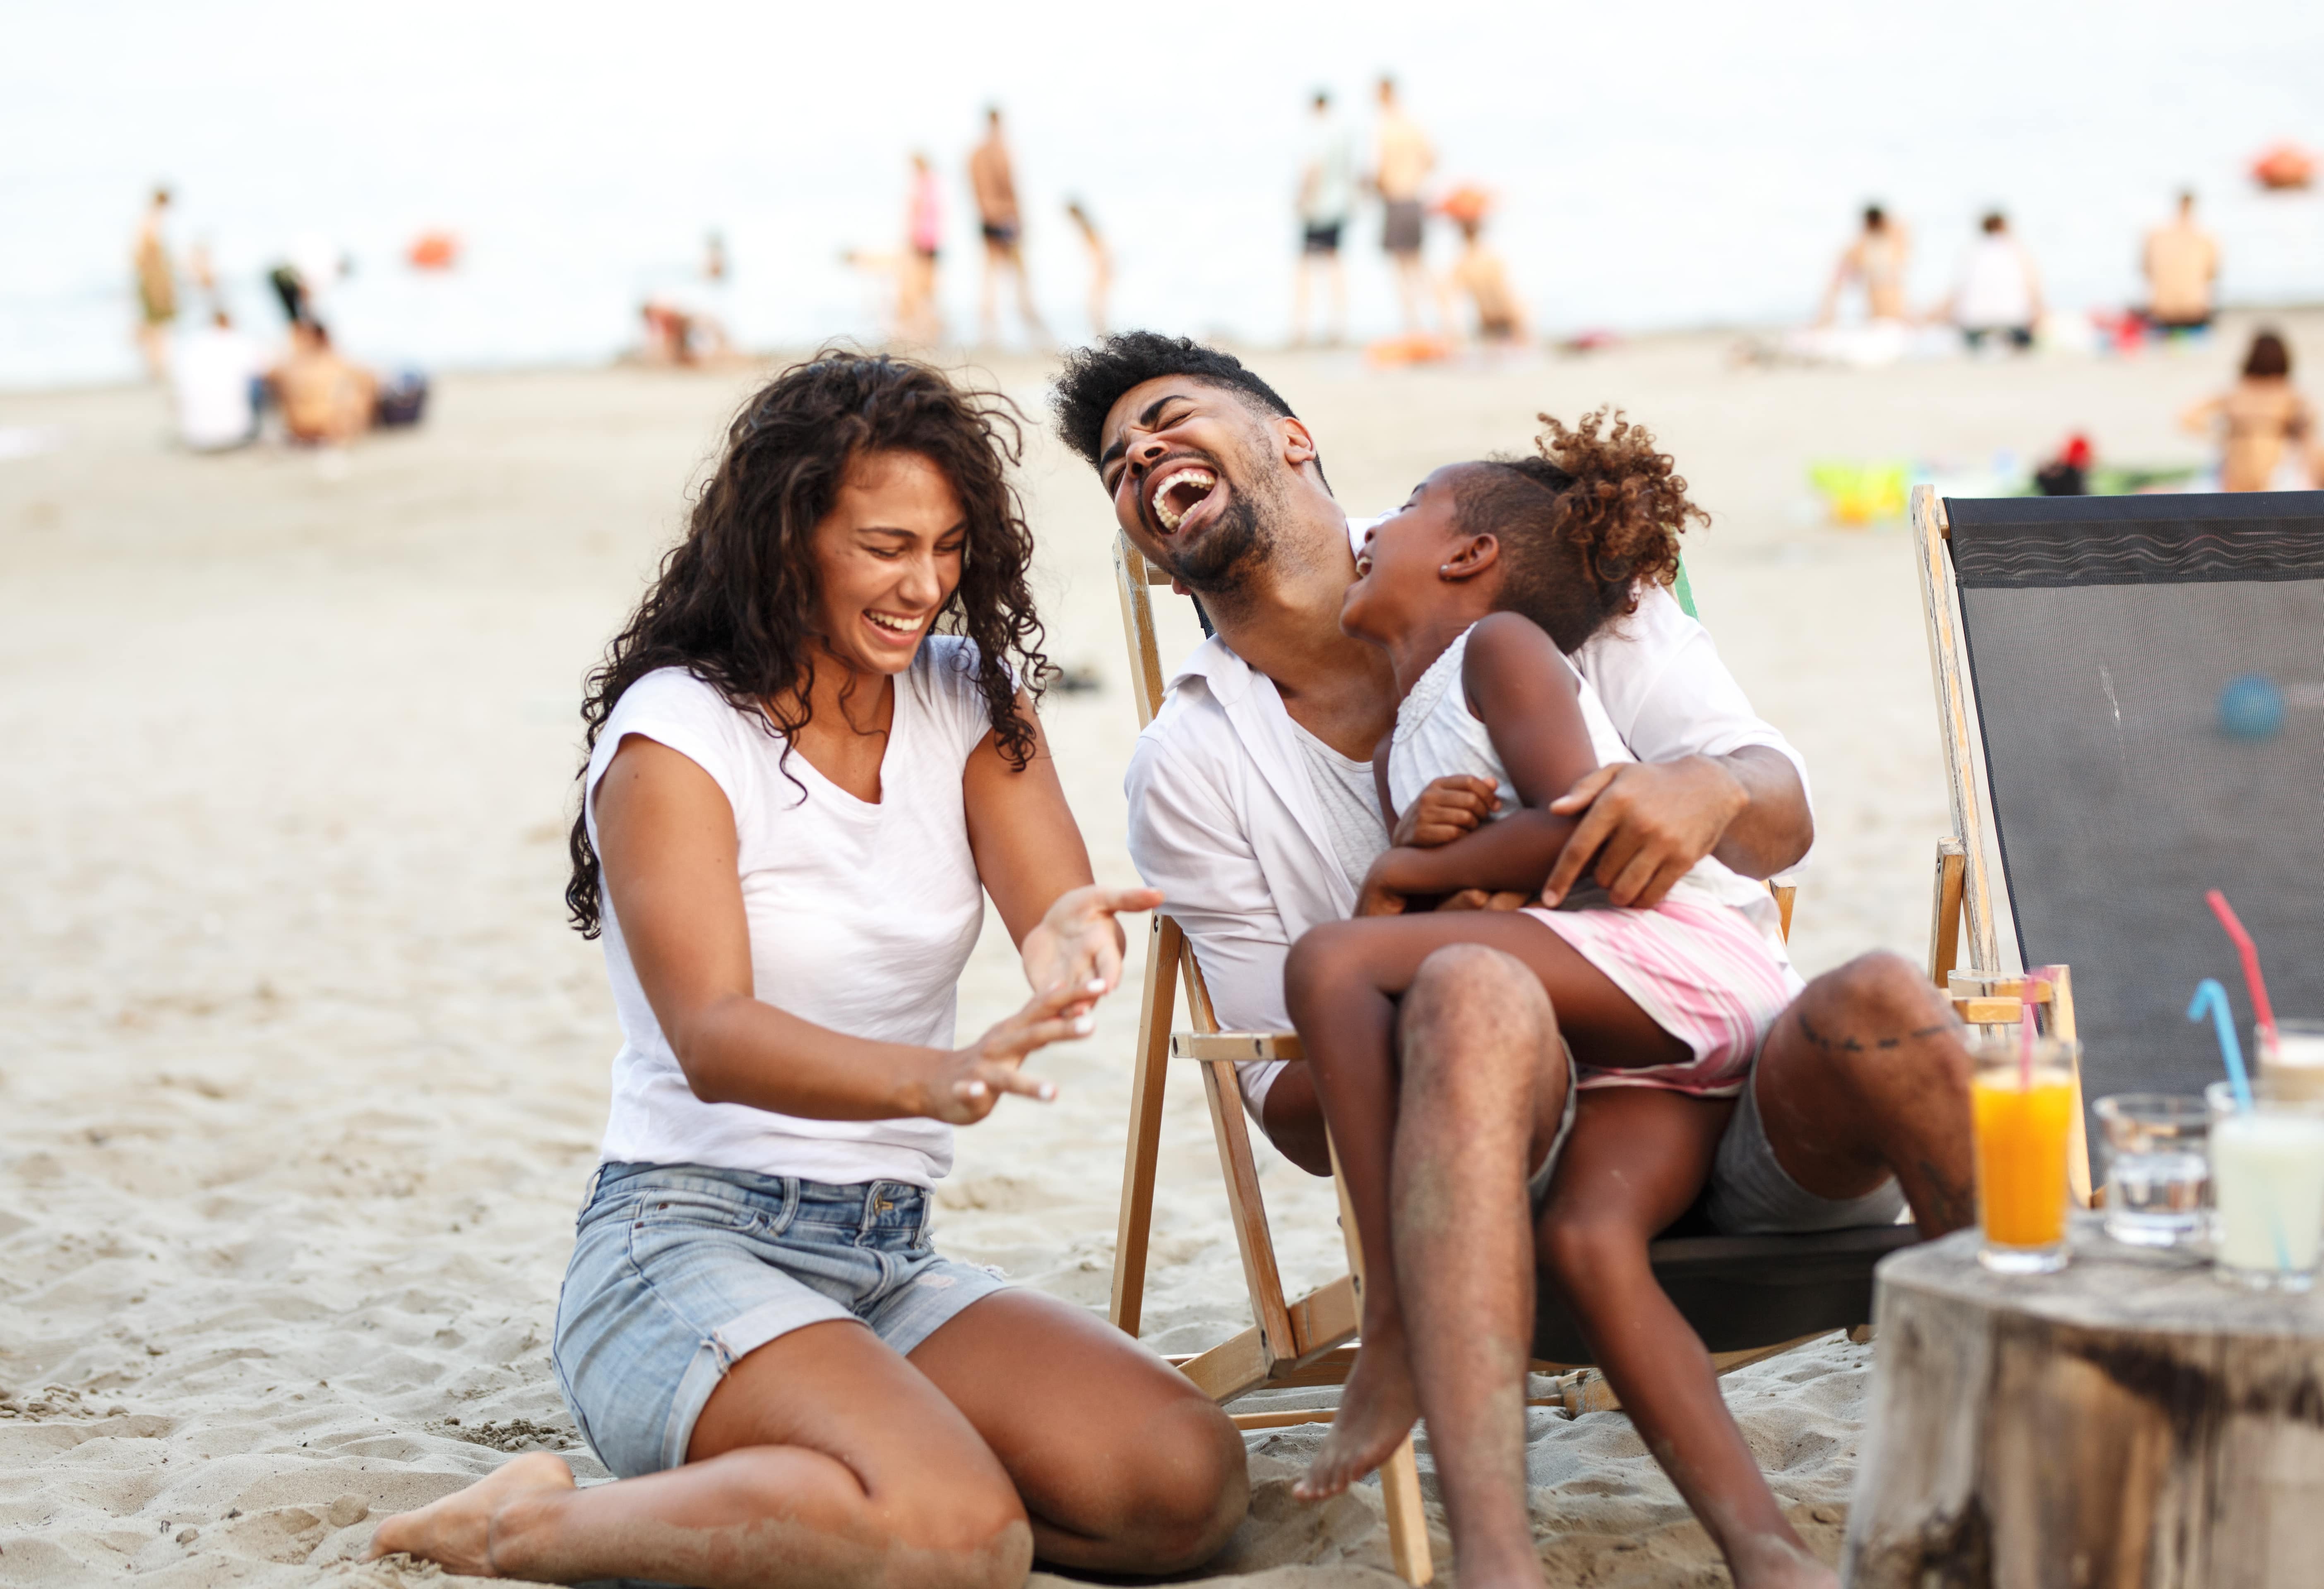
Blur Photo Background And Hide Unwanted Details
Backgrounds can sometimes be cluttered or visually distracting. Blurring them helps eliminate those distractions, allowing the viewer to focus solely on the subject.
Explore Other Features
Luminar Neo has plenty of other features to help you edit faster and easier
Photo Retouching
Before
After
© Depositphotos
Photo Retouching
Make your photos appear their best by removing distracting items.
Change Background Color


Before
After
© Garetsworkshop
Change Background Color
Enhance your design projects with a background changer, a simple yet impactful tweak.
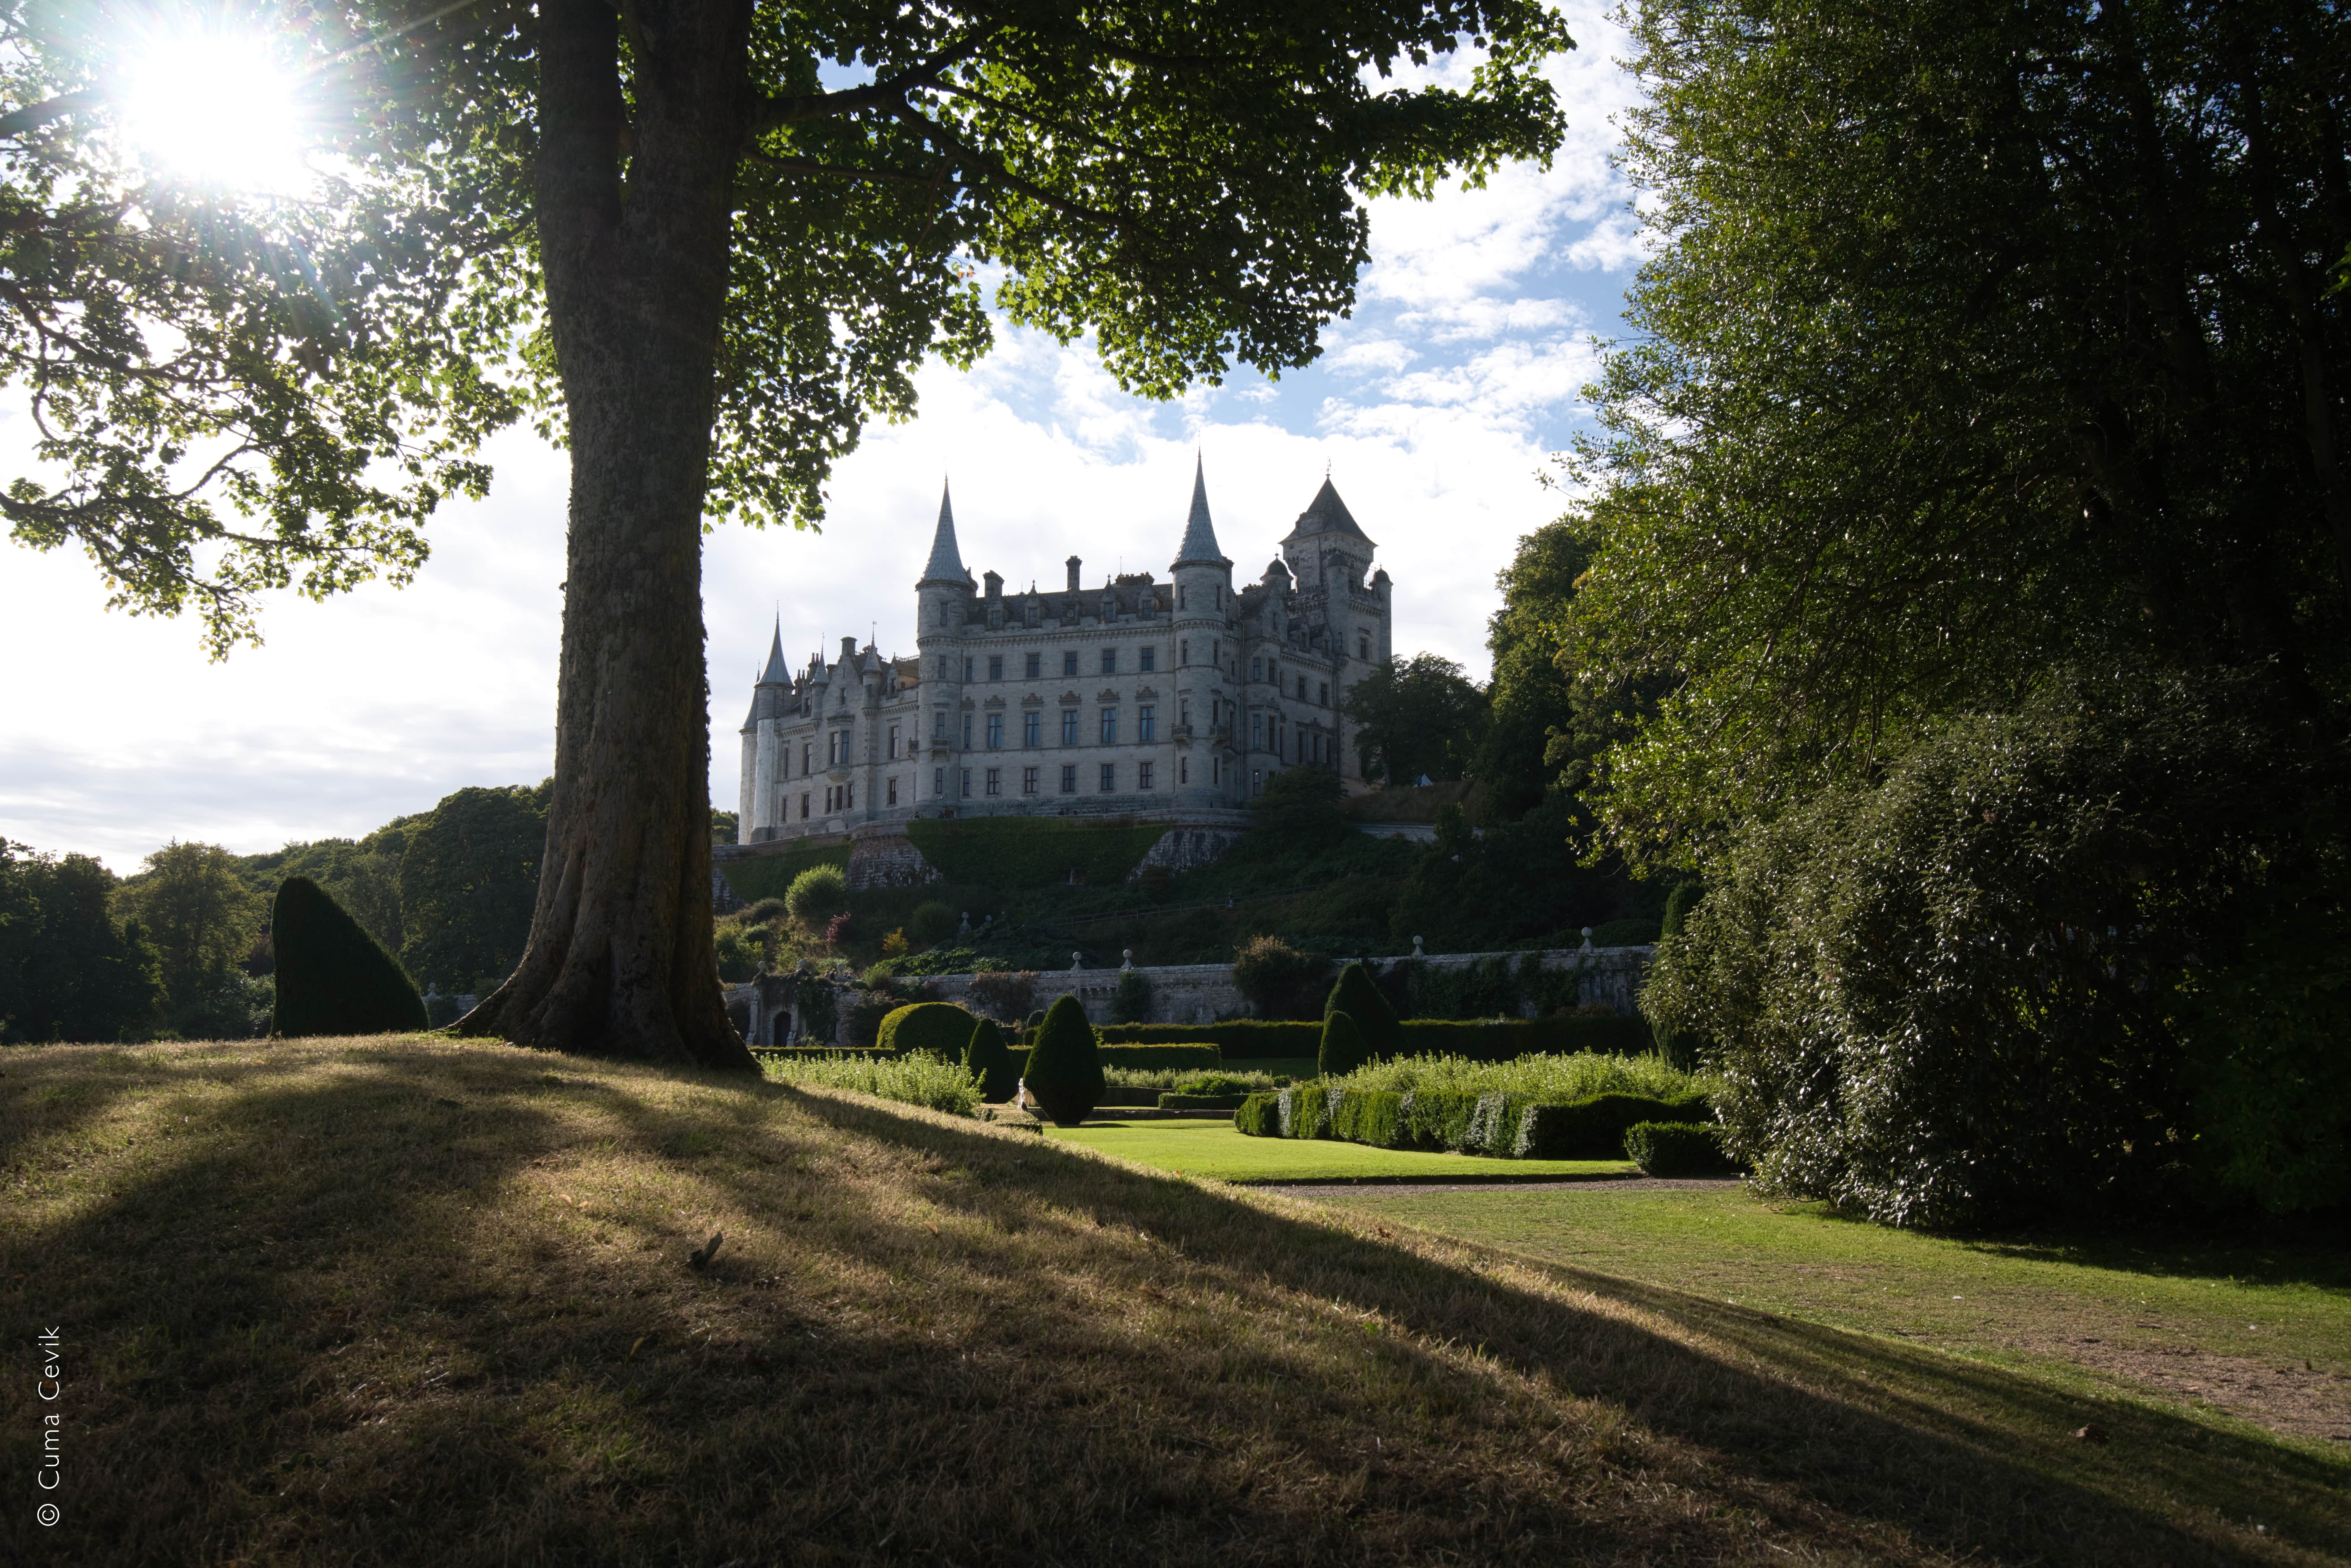
RAW Converter

Before
After
© Cuma Cevik
RAW Converter
Convert your RAW images into stunning, high-quality photographs


Selective Color
-min.jpeg)
Before
After
© Depositphotos
Selective Color
Utilizing selective color photography, make striking stylistic alterations and original artistic images.
An application & plugin
For macOS & Windows
- High-performance AI editor
24/7 technical support
30-day money back guarantee
Join community of Luminar Insiders
Frequently Asked Questions
How to blur the background of a picture with Luminar Neo?
Luminar Neo is a great blur background photo editor, because it has a few options to explore to blur backgrounds. From the Portrait Bokeh AI tool for portraits, to the classic Blur tool, you can explore your options.
Are there different levels of blur I can apply?
Sure, easily adjust the amount of blur you want to apply.
How to remove a blurred background?
If you want to remove a background you just blurred simply undo your last action. If you want to sharpen a blurry background, we recommend the Supersharp AI Extension in Luminar Neo blur background editor.
Can I selectively apply the blur background filter?
It depends on the blur photo background maker that you want to use. In Luminar Neo, lots of tools have a masking option that lets you easily apply selective adjustments.