Dive into the world of the Exposure Triangle with us and uncover the key to snapping photos that are lit just right, every time. Learn how playing with aperture, shutter speed, and ISO can transform your shots from good to breathtaking.
Have you ever looked at a professional photo, marveling at how every single detail is perfectly illuminated? Well, the magic behind those impeccable exposures goes beyond just raw talent or fancy gear. It's all about really getting the exposure triangle down pat. This concept might sound straightforward, but it's the bedrock of photography. It's what lets photographers mold light with their creativity, turning what they see in their mind into reality in their shots!
But what are the three parts of the exposure triangle? Before we dive into the definitions and explore how you can harness this knowledge to elevate your photography, let's demystify this crucial principle, transforming how you see and capture the world through your lens!
Understanding the Exposure Triangle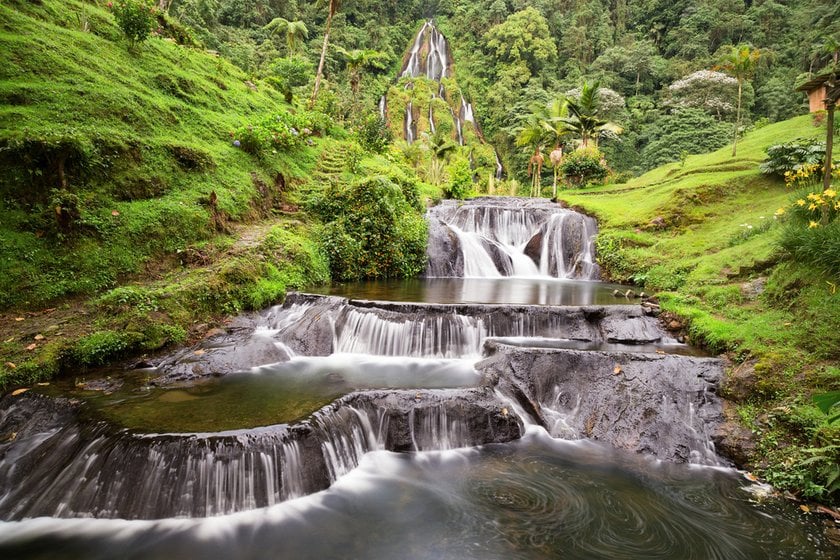

Photography feels a lot like discovering a hidden path with three keys in hand: aperture, shutter speed, and ISO. These three keys unlock the concept known as the exposure triangle, a core principle guiding us to adjust the brightness or darkness of our photos. It's akin to painting with beams of light, tweaking our canvas to perfectly capture the scenes unfolding before our eyes.
What Is the Exposure Triangle?
Consider the triangle of exposure as your closest ally in photography. It's all about getting to grips with how aperture, shutter speed, and ISO seamlessly work together. Each component uniquely shapes your photo, and collectively, they determine the final look of your exposure.
Aperture: Your Lens's Eye
The aperture is much like the eye's pupil, dictating the amount of light that hits the lens. Opt for a wide aperture, and a flood of light enters, crafting that gorgeous blur in the background that makes your subject pop — ideal for portrait shots. Dial it back to narrow the aperture, and you restrict the light, sharpening details from near to far, perfect for capturing the breadth and beauty of landscapes.
Shutter Speed: The Pulse of Time
Shutter speed is how long the camera's shutter stays open to let light in. Fast shutter speeds help us freeze moments in time, like a bird in mid-flight, without any blur. Slower speeds let in more light and capture the blur of movement, giving us dreamy photos where the water looks smooth as silk.
ISO: Sensitivity in the Dark
ISO measures the camera's sensitivity to light. A lower ISO means the camera is less sensitive to light, which is suited for those bright sunny days, ensuring our photos come out clear and sharp. When we bump up the ISO, we increase the camera's sensitivity, which is a lifesaver in low light conditions but be wary of the graininess that might creep into our photos.
Balancing the Triangle
Getting the right exposure in your photos truly is an art form, balancing aperture, shutter speed, and ISO to elevate your shots from good to spectacular. Every setting plays its part, shining in its own time, influenced by what you're trying to capture. Be it the calm of a landscape or the thrill of action shots, understanding which setting to adjust and at what time is crucial!
Example scenarios
Consider this: you're faced with a breathtaking landscape sprawling before you. Here, your priority might lean towards the aperture. Dialing in a smaller aperture (a higher f-stop number) lets you capture the scene in sharp focus, from the flowers at your feet to the mountains in the distance. In this scenario, you might compensate for the reduced light by lowering your shutter speed or nudging up your ISO, ensuring your photo is well-exposed without sacrificing depth of field.
On the flip side, imagine you're at a sports event where the action is fast and unpredictable. Shutter speed becomes your hero. A faster shutter speed will freeze the motion, capturing athletes in mid-air or the splash of a swimmer. To maintain exposure, you may open up your aperture or increase ISO, making sure every detail is crisply captured, even in a fast-paced environment.
If you're keen on mastering these adjustments and truly taking control of your camera's potential, our manual photography cheat sheet is your must-read companion. It's packed with insights and tips that transform the complex dance of manual settings into simple, actionable steps!
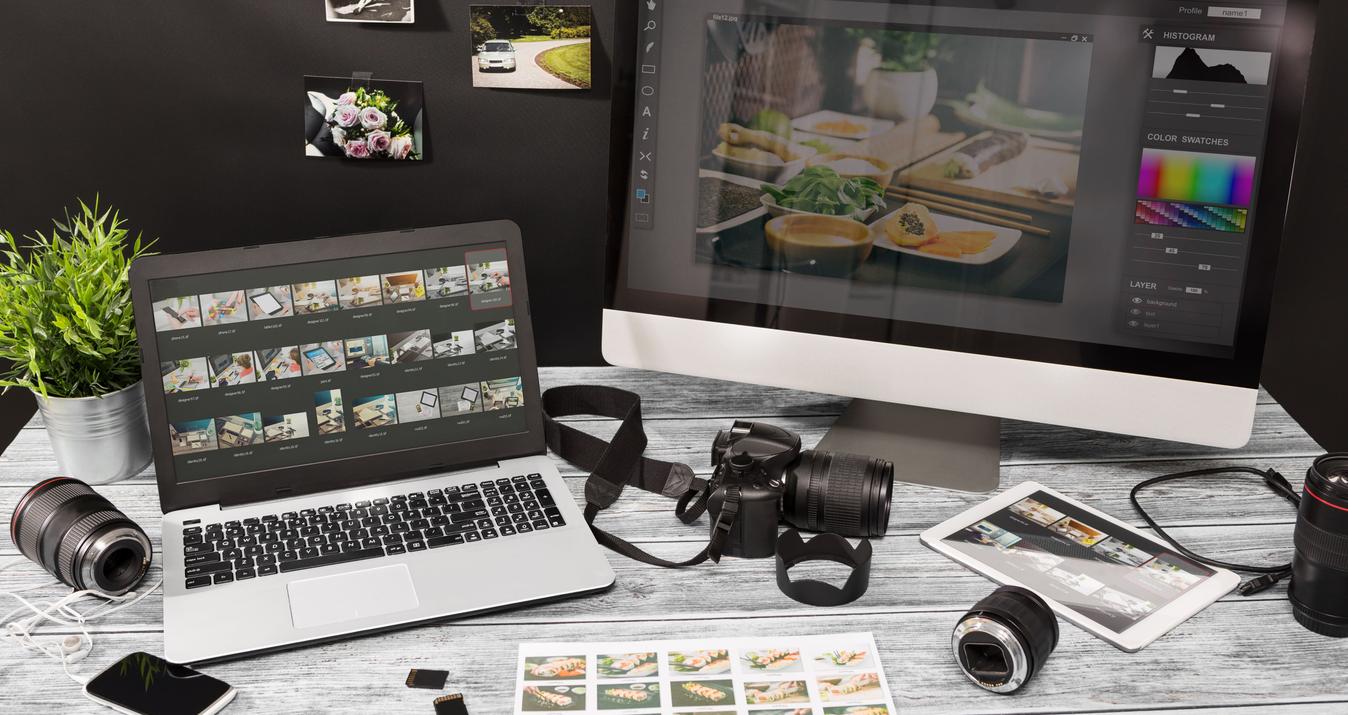
Advanced yet easy-to-use photo editor
Get Luminar Neo NowPractical Tips for Mastering the Exposure Triangle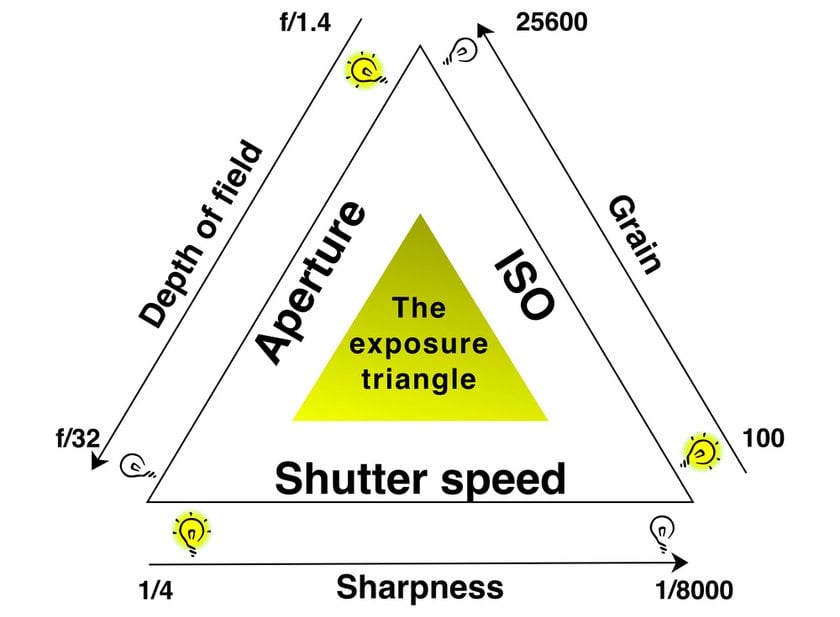

Let's go through some fun exercises to sharpen your skills, along with a few tips to dodge those newbie mistakes.
Fun Exercises to Try
Day Out with Aperture: Grab your camera and dedicate a day to playing with aperture. Flip your camera to Aperture Priority mode; you choose the aperture, and it takes care of the shutter speed. Start with a low f-stop for those up-close shots, enjoying the blur it brings to your backgrounds. Then, crank it up as you aim your lens at wider scenes, noticing how everything snaps into focus.
Shutter Speed Safari: Next, let's mess with time—shutter speed, that is. Switch to Shutter Priority mode, where you pick the shutter speed and let your camera do the rest. Freeze time with fast speeds to capture those split-second moments, like a dog shaking off water. Slow things down to blur motion, giving life to waterfalls or bustling streets. Watch how each speed paints a different picture.
ISO Exploration: Pick a dim day or early evening to challenge yourself with ISO settings. Begin at the lowest ISO and bump it up step by step, keeping your scene constant. Notice how your camera's light changes, and keep an eye out for when your photos start to look grainy. This will teach you the fine line between just enough light and too much noise.
Tips to Keep You on Track
Easy on the ISO: High ISO might seem like a quick fix in low light, but it can make your photos grainy. Aim to keep it as low as possible, tweaking your aperture and shutter speed first for that perfect shot.
Make Friends with the Histogram: That graph on your camera isn't just for show—it's a treasure map to perfect exposure. Don't just trust your LCD screen, especially under the bright sun or in dark rooms. The histogram tells you the real story of your photo's light and dark balance.
Step Away from Auto: While it's comfy to stick with auto mode, it's like keeping the training wheels on. Venture into manual or semi-manual modes like Aperture or Shutter Priority. It pushes you to make those creative decisions, deepening your bond with your camera and the scenes you capture.
With these exercises and tips, you're not just following rules; you're playing, experimenting, and making each photo uniquely yours. Photography is about capturing the world through your eyes, and mastering the exposure triangle is your ticket to doing just that. So, go ahead, tweak, adjust, and watch your photos come to life!
Editing Your Pictures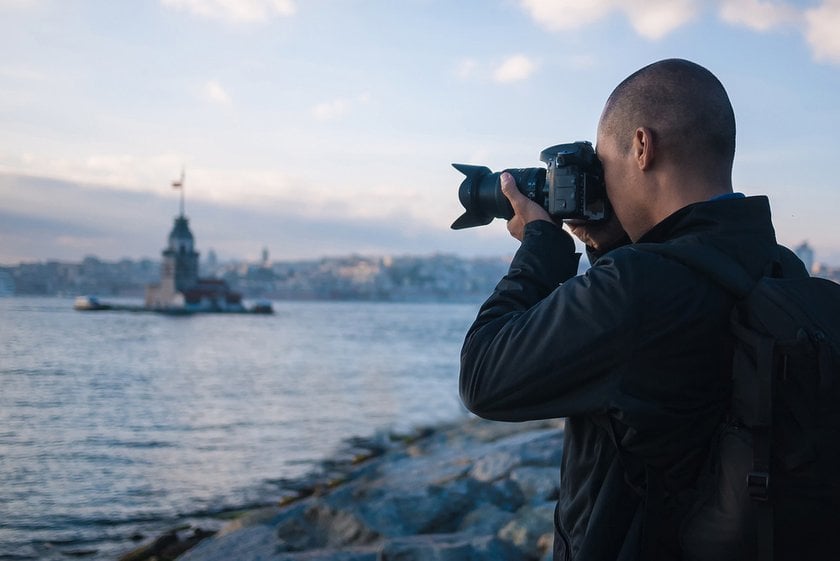

Luminar Neo, an AI photo editor, turns the complex world of post-processing into something straightforward and enjoyable, especially when you're aiming to get that ideal balance between light and shadow or fix those underexposed shots. With the Supercontrast tool, you gain the ability to adjust highlights, midtones, and shadows individually, ensuring every detail in your photo stands out with clarity and depth. This tool isn't just about tweaking; it transforms your photos, making every element in them shine with contrast editing.
For those moments when you capture a great scene but the lighting isn't on your side, Luminar Neo offers a solution with its Relight AI feature to edit photo brightness. It intelligently illuminates specific parts of your photo, preserving the original feel while enhancing visibility where it's needed most!
Stepping into Luminar Neo, you'll find it doesn't require a manual to navigate its features. The design is intuitive, leading you naturally to powerful editing tools like Enhance AI for straightforward improvements or Supercontrast and Relight AI for more precise adjustments. Luminar Neo empowers you to convey the beauty you've captured, ensuring the final image reflects your vision!
Conclusion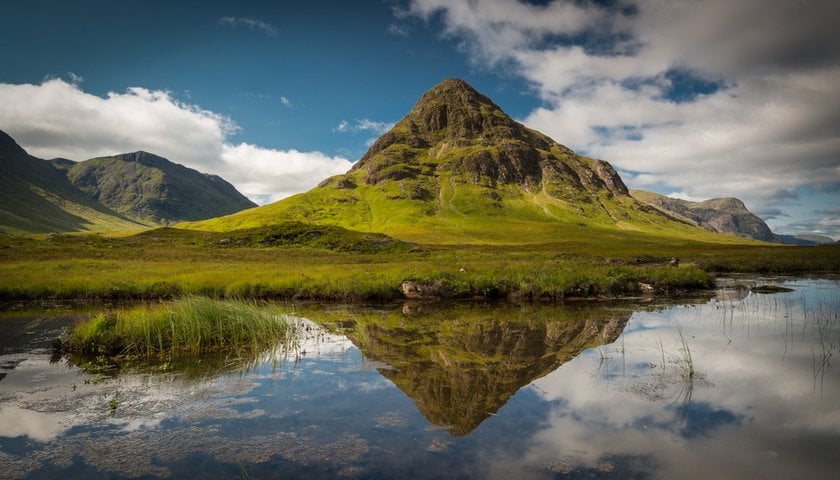

Wrapping up our journey through the world of the exposure triangle, we've unlocked the secrets to mastering light in your photography. But the adventure doesn't end here! If you're intrigued by the possibilities of shaping light even further, dive into our post on double-exposure photography. This technique offers another layer of creativity, blending images to create something truly unique and captivating. It's an exciting next step for anyone looking to push their creative boundaries beyond the basics of exposure.
So, grab your camera, and let's keep exploring the endless possibilities photography has to offer! Happy shooting!